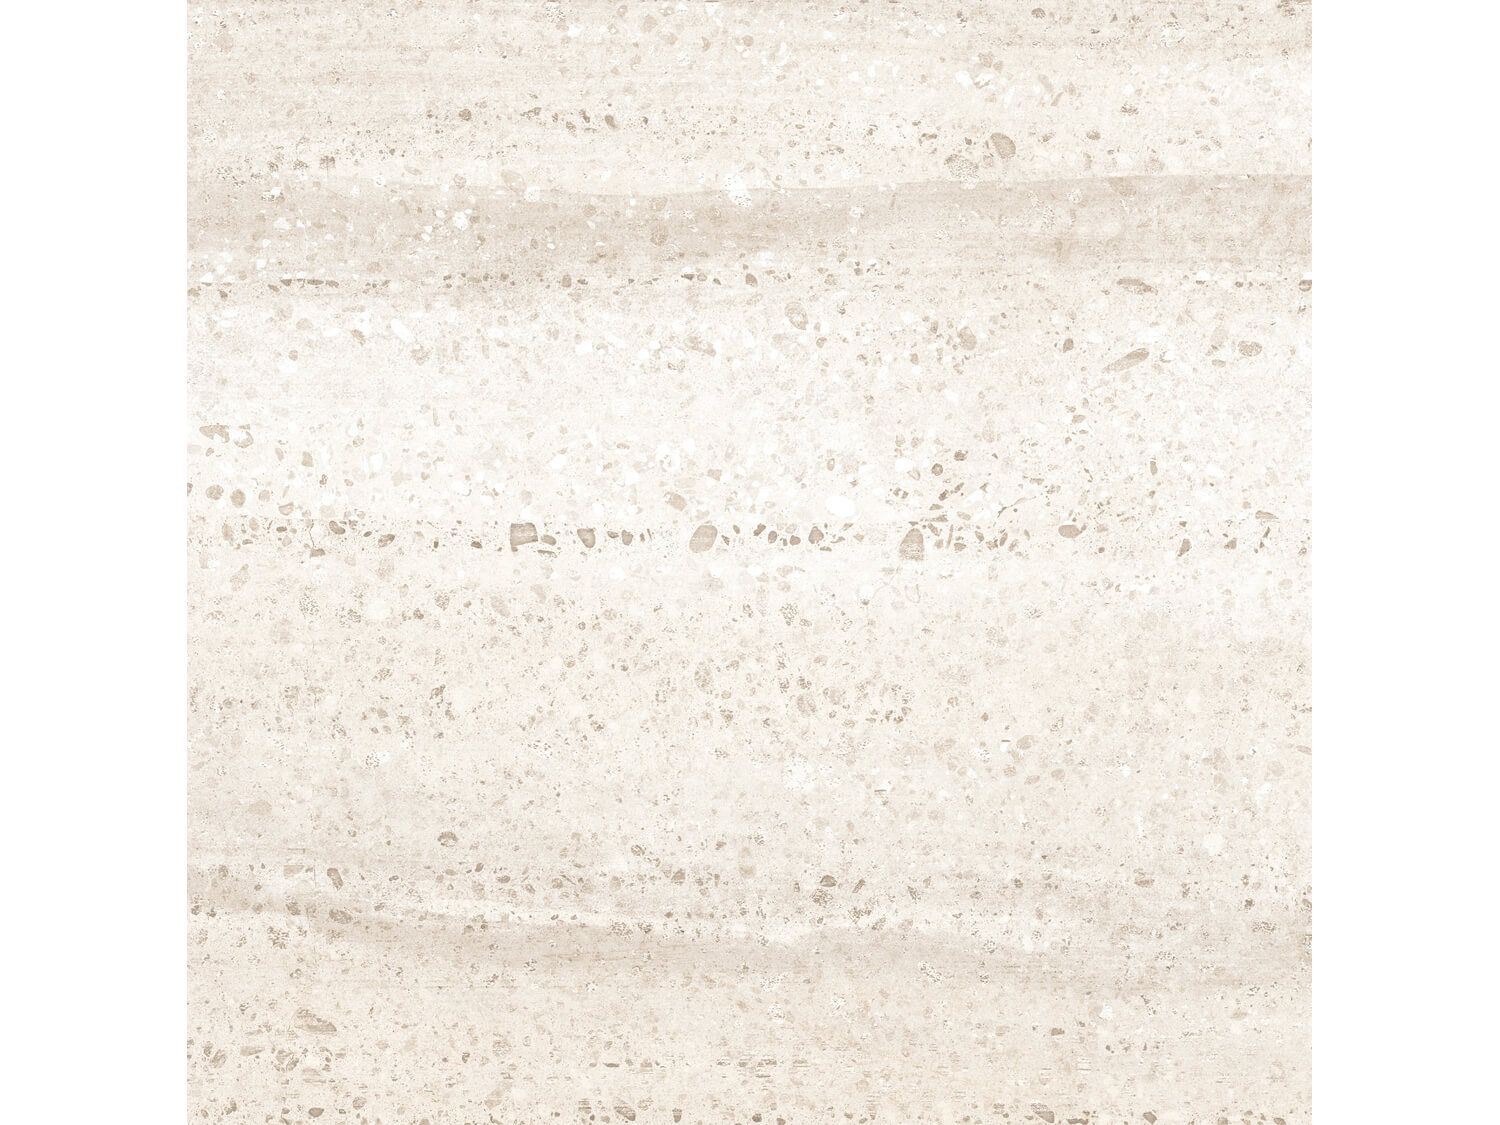
Artic Beige Porcelain Floor Tile - 600 x 600mm


Artic Beige Porcelain Floor Tile - 600 x 600mm


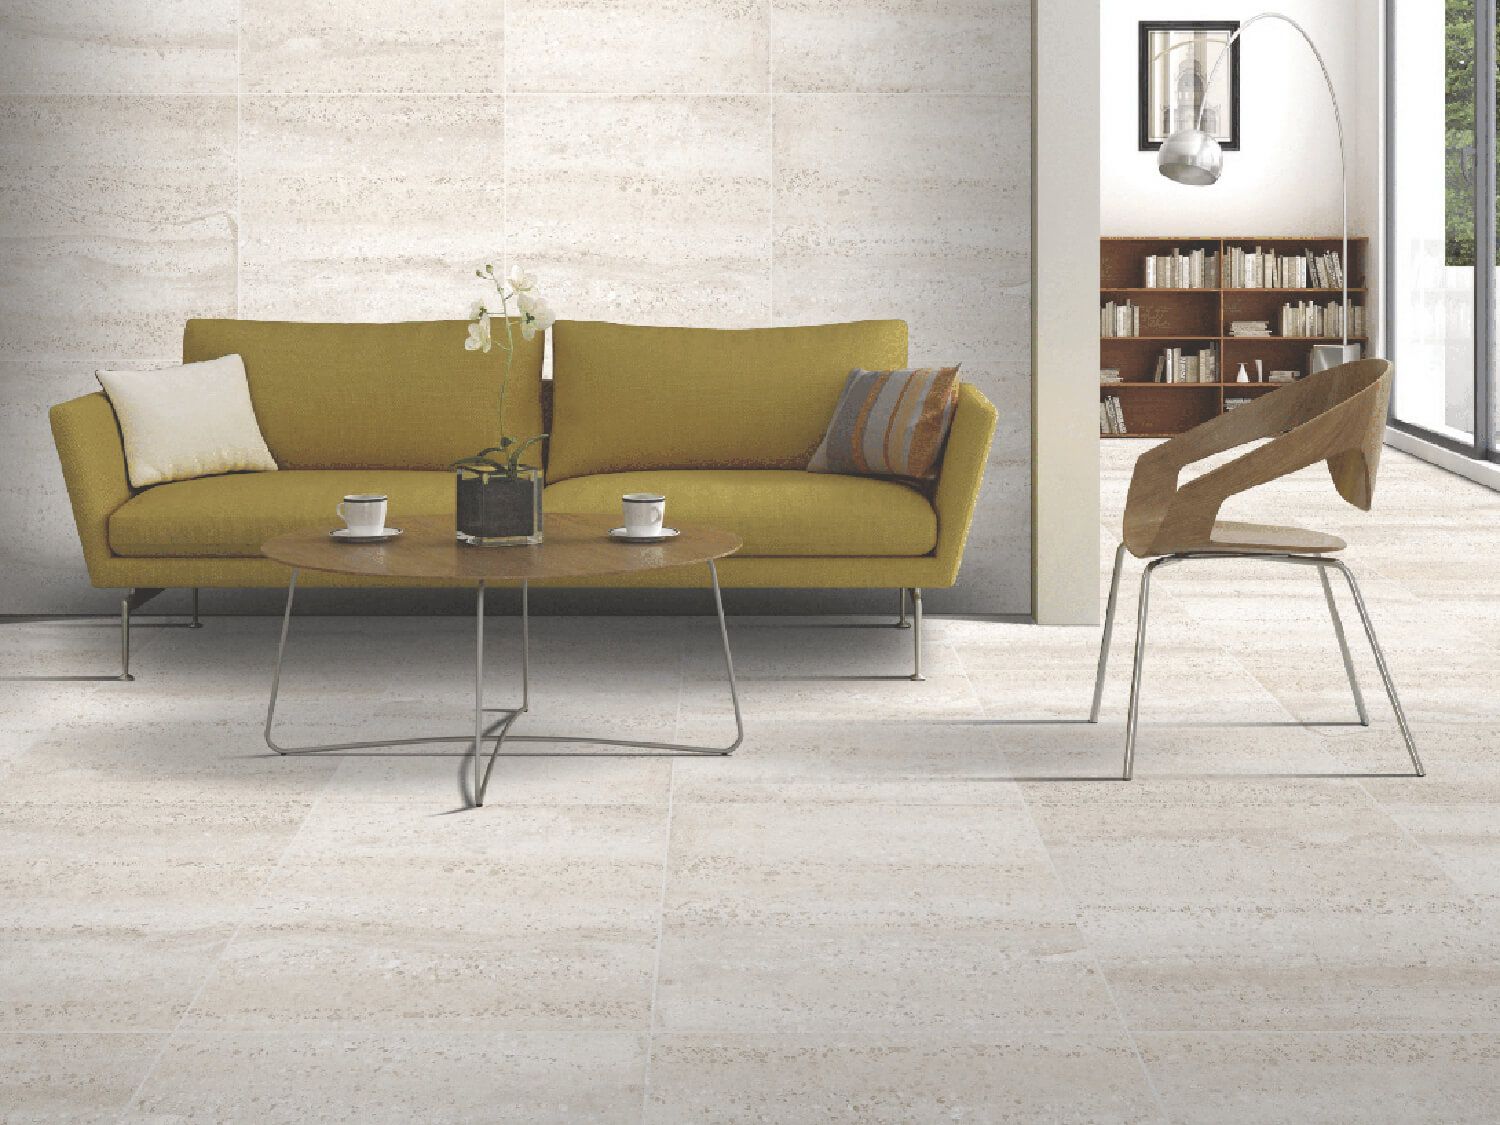
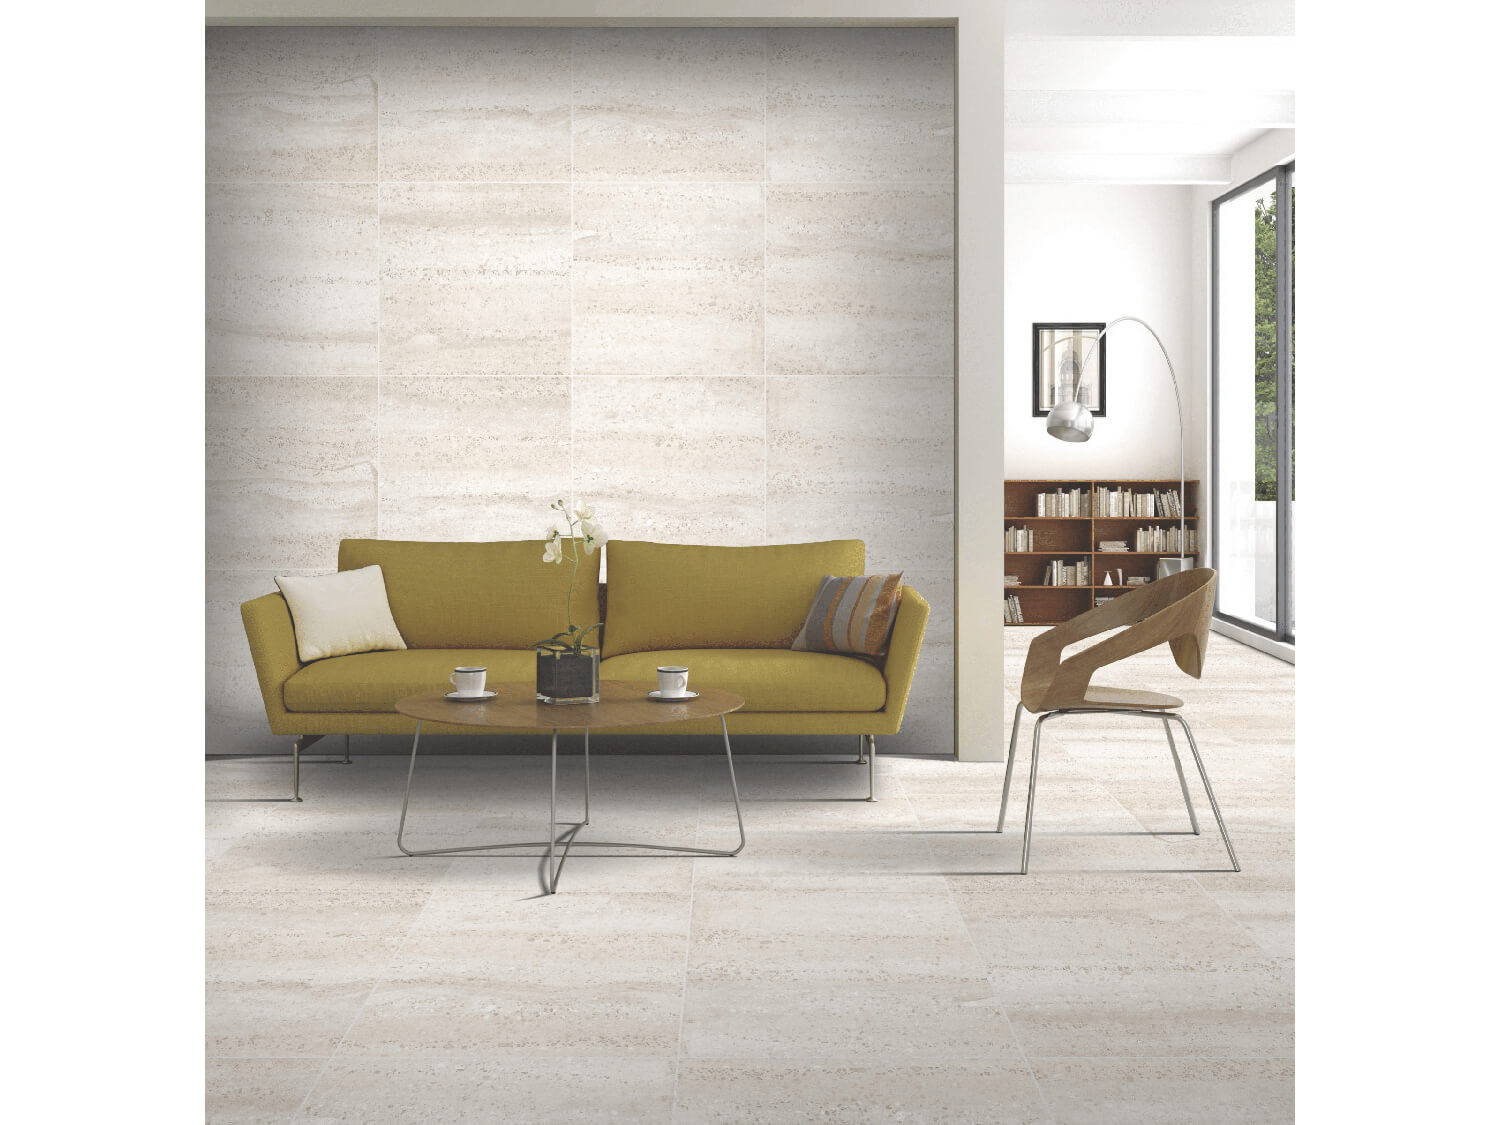
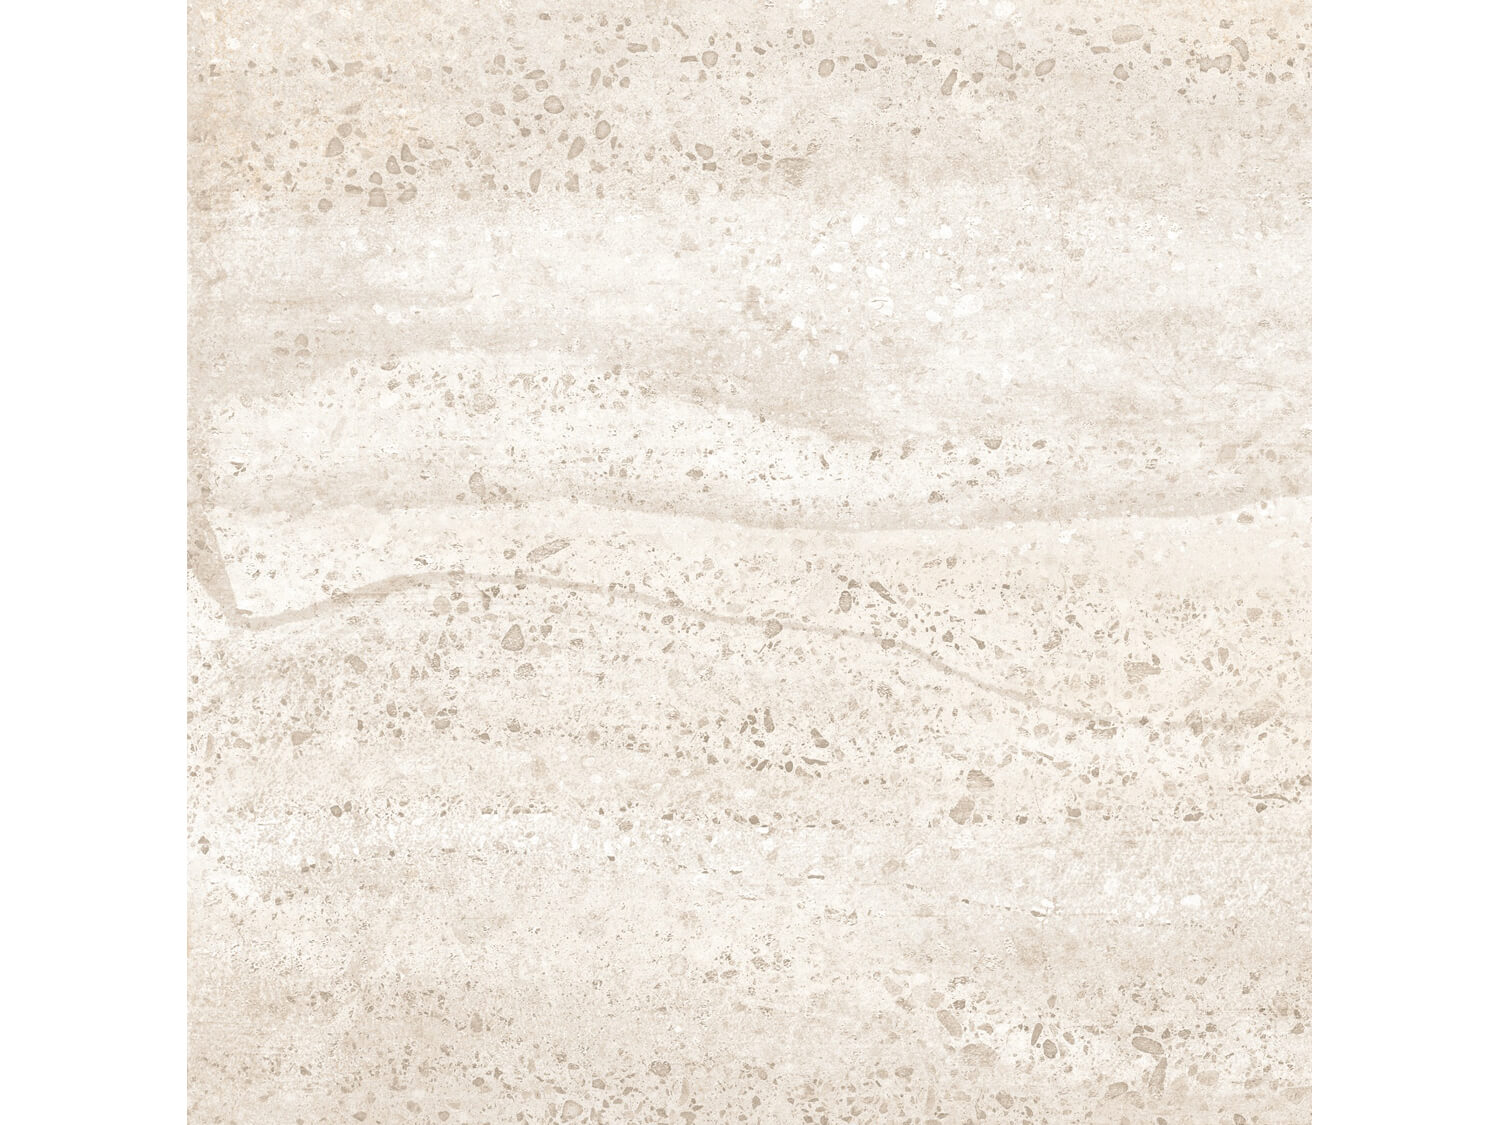
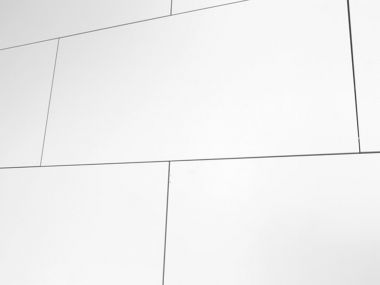
The Artic Beige Matt Porcelain Floor Tile is a beautiful and versatile tile that is perfect for any room in your home. The warm beige color is both stylish and inviting, and the matt finish adds a touch of luxury. This tile is made from high-quality porcelain, which makes it durable and easy to care for. It is also stain-resistant and scratch-resistant, so you can be sure that it will last for years to come.
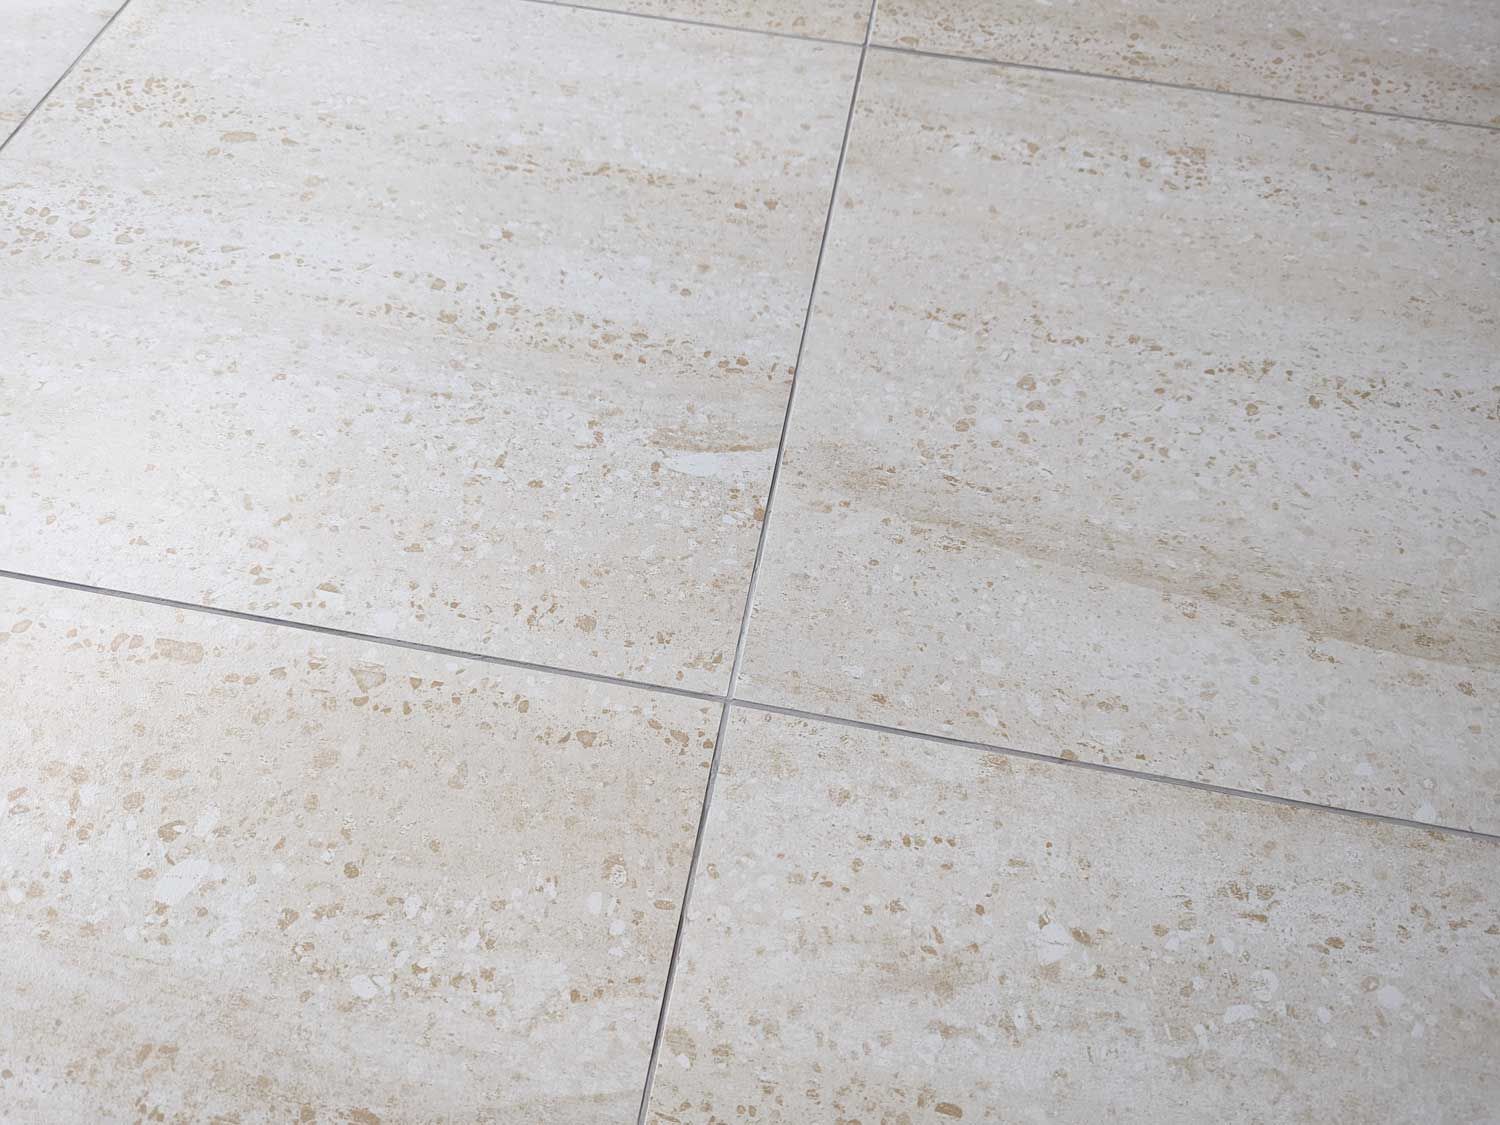
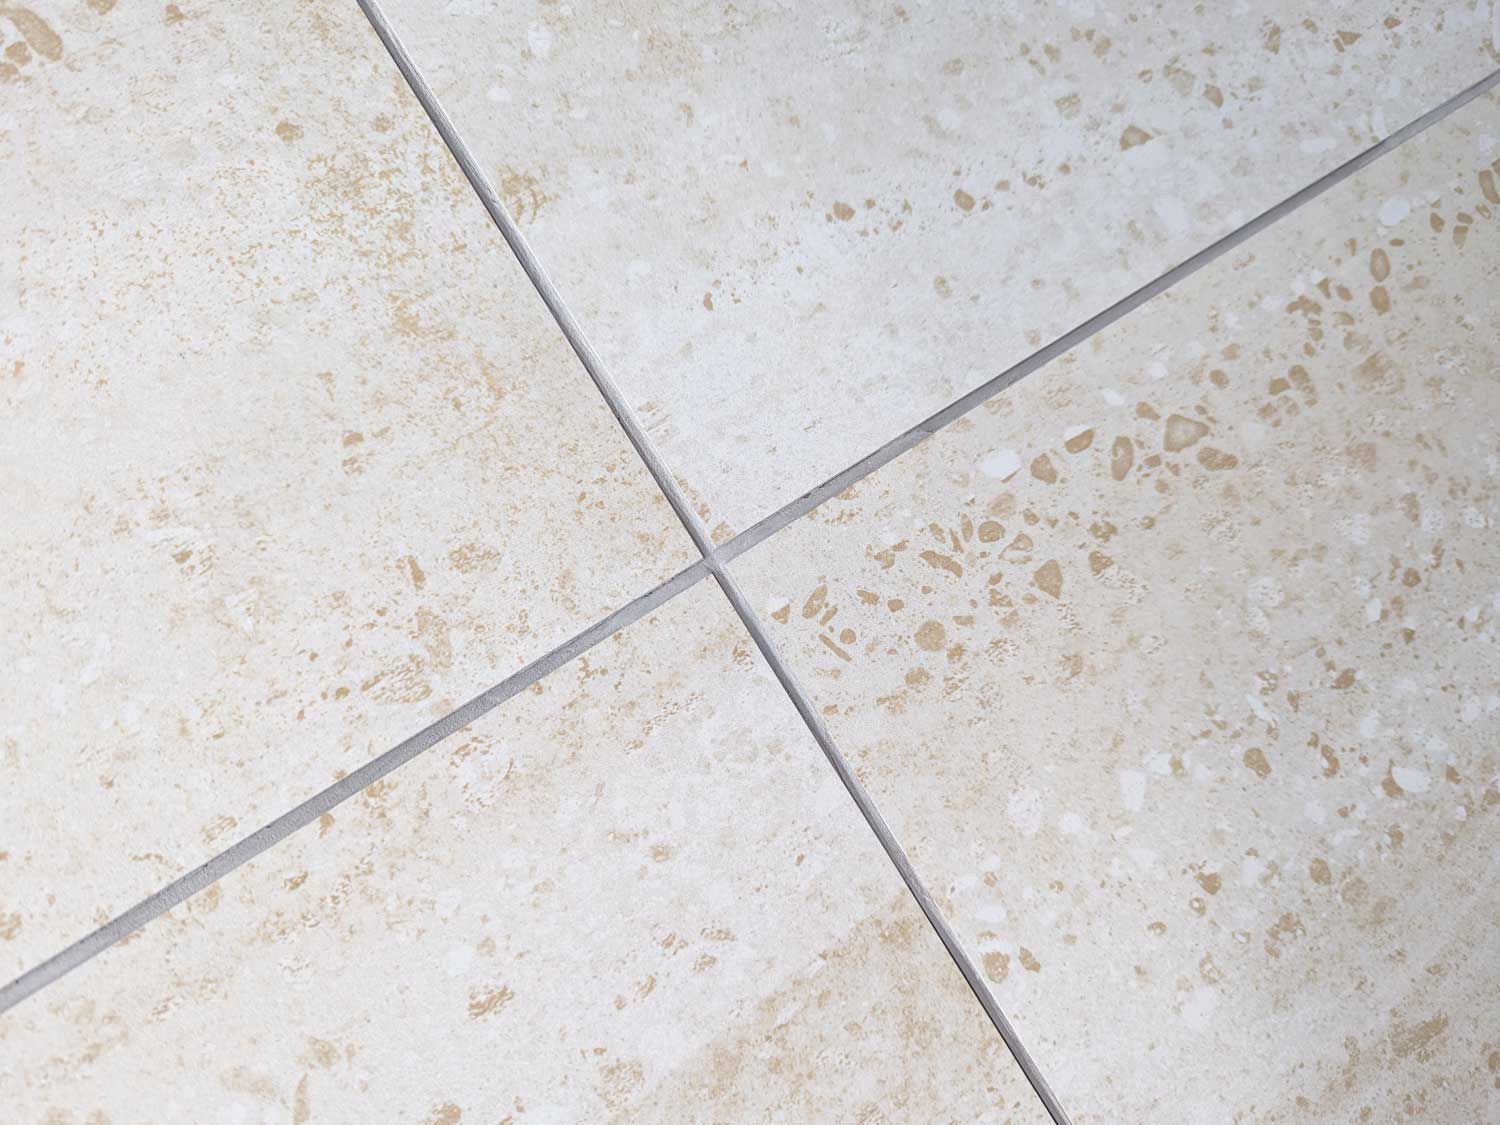
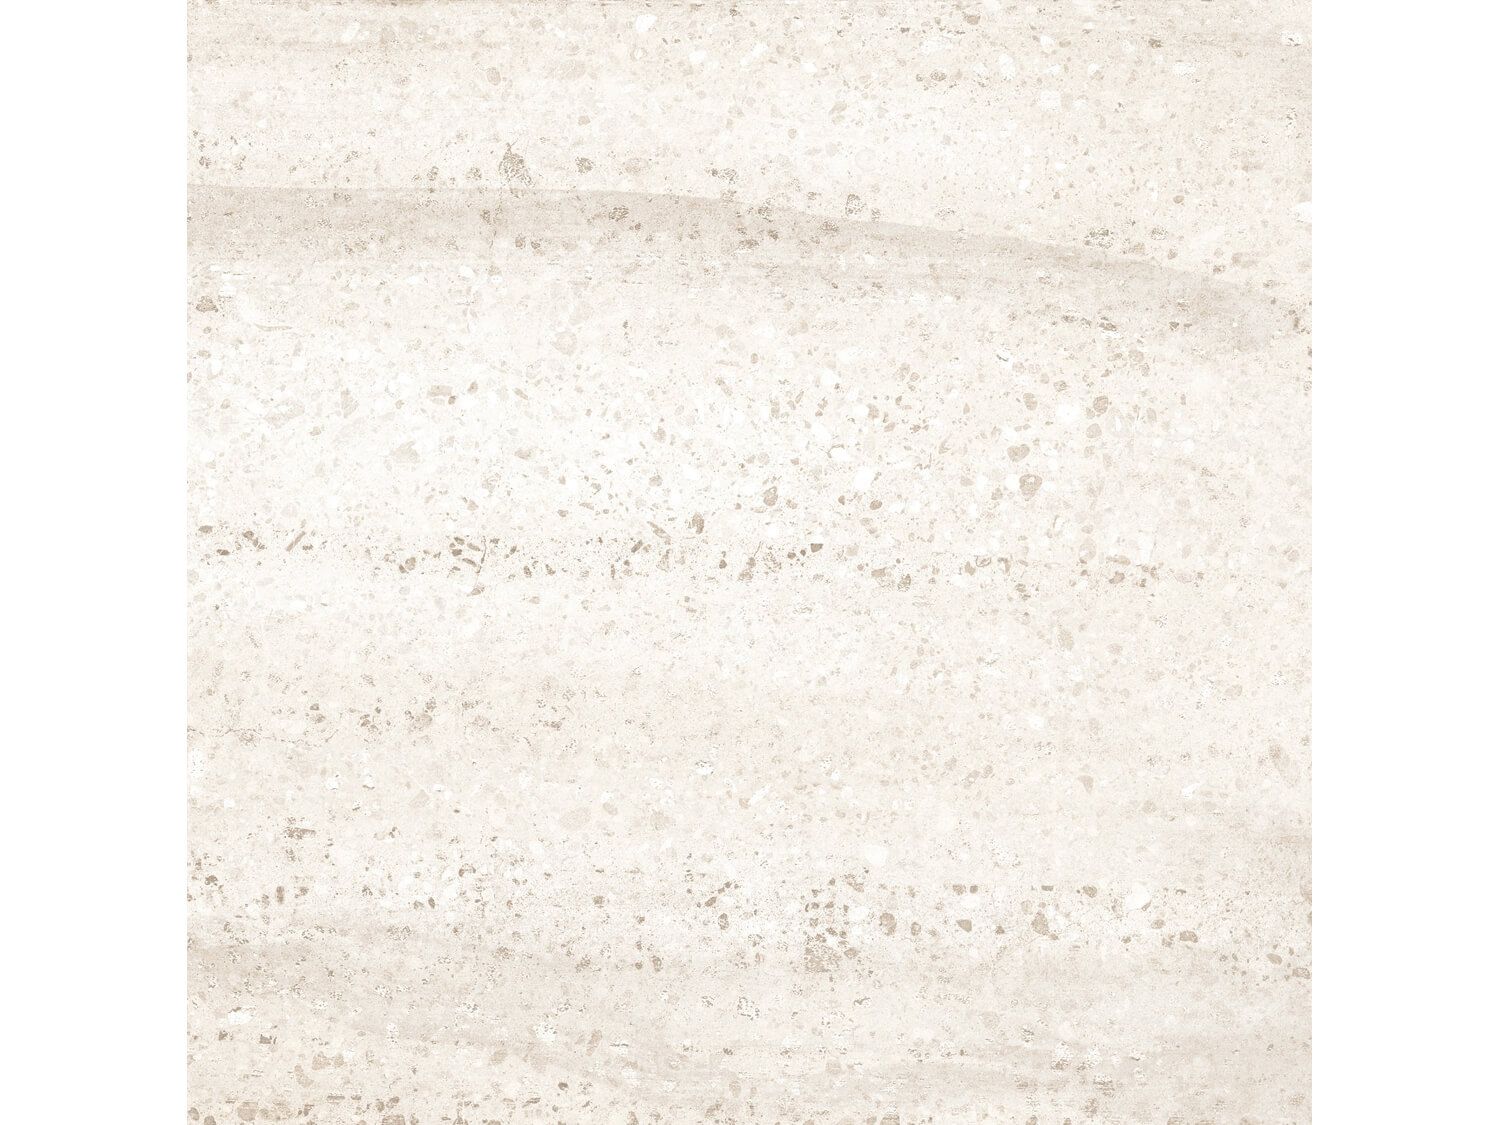
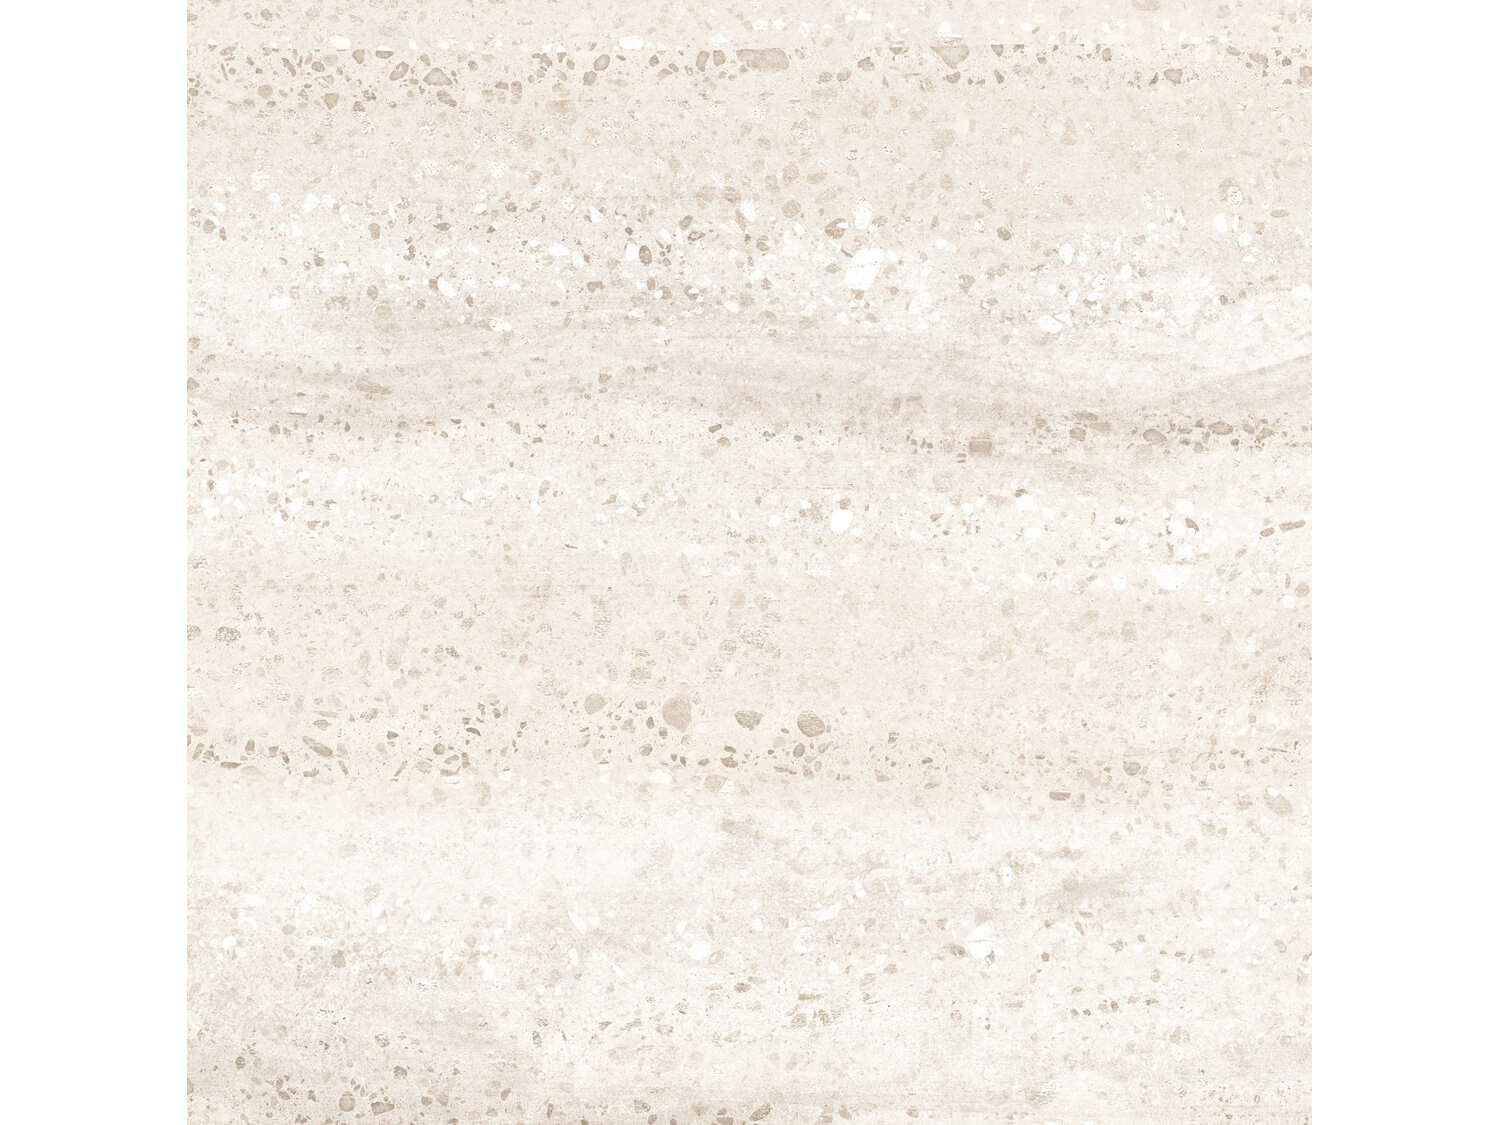
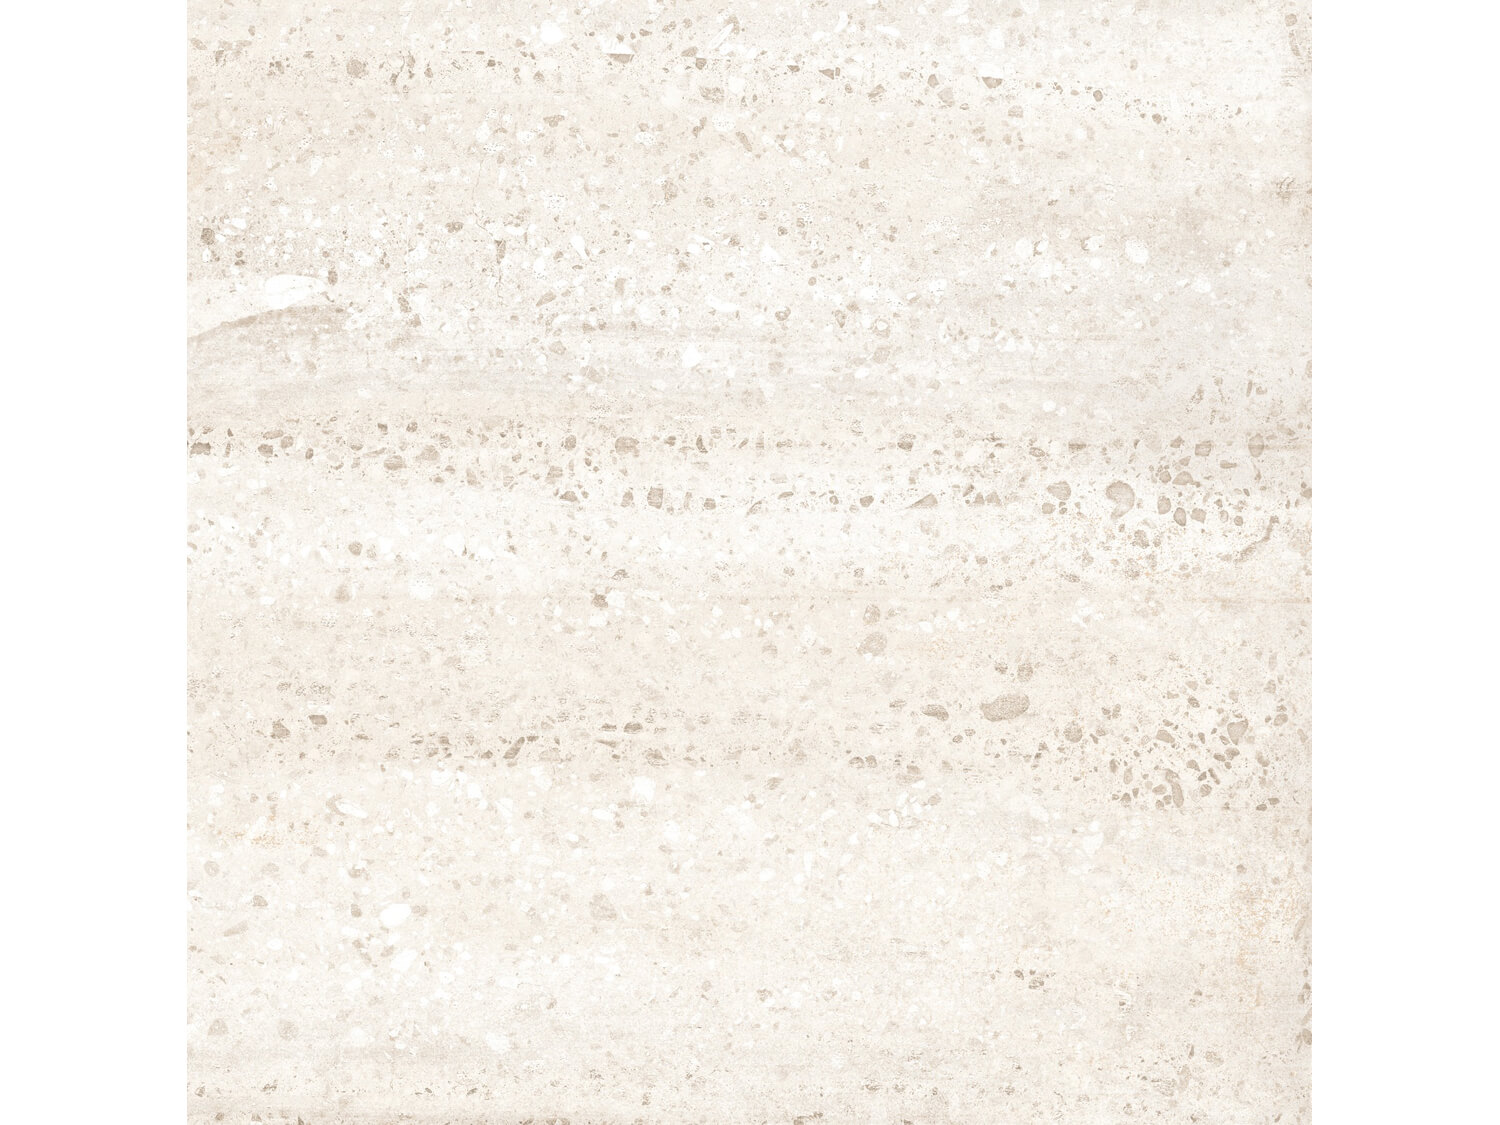
The Artic Beige Matt Porcelain Floor Tile is available in a large 600mm by 600mm size and consists for 8 random tile faces for a more natural look. This allows you to create a more following natural look. The tile glaze consists of a random pattern of dark beige chips & dots making the tile look like natural stone.
If you are looking for a beautiful, durable, and easy-to-care-for tile for your home, the Artic Beige Matt Porcelain Floor Tile is the perfect choice.
We recommend you use the right spacing and adhesive for this elegant heavy-duty tile for best and long lasting results.
Features and Benefits:
- Beautiful warm beige color.
- Matt finish adds a touch of luxury.
- Made from high-quality porcelain.
- Durable and easy to care for.
- Stain-resistant and scratch-resistant.
- Water absorption rate - <0.05%.
- Type of tile: Dry Pressed.
- Number of tile faces - 8.
- PEI Rating - 4 Medium.
- Easy to install and maintain.
Product Specifications
| Box Price (TZS) | 69,839.99 |
|---|---|
| Quantity Per Box | 4 Tiles Per Box |
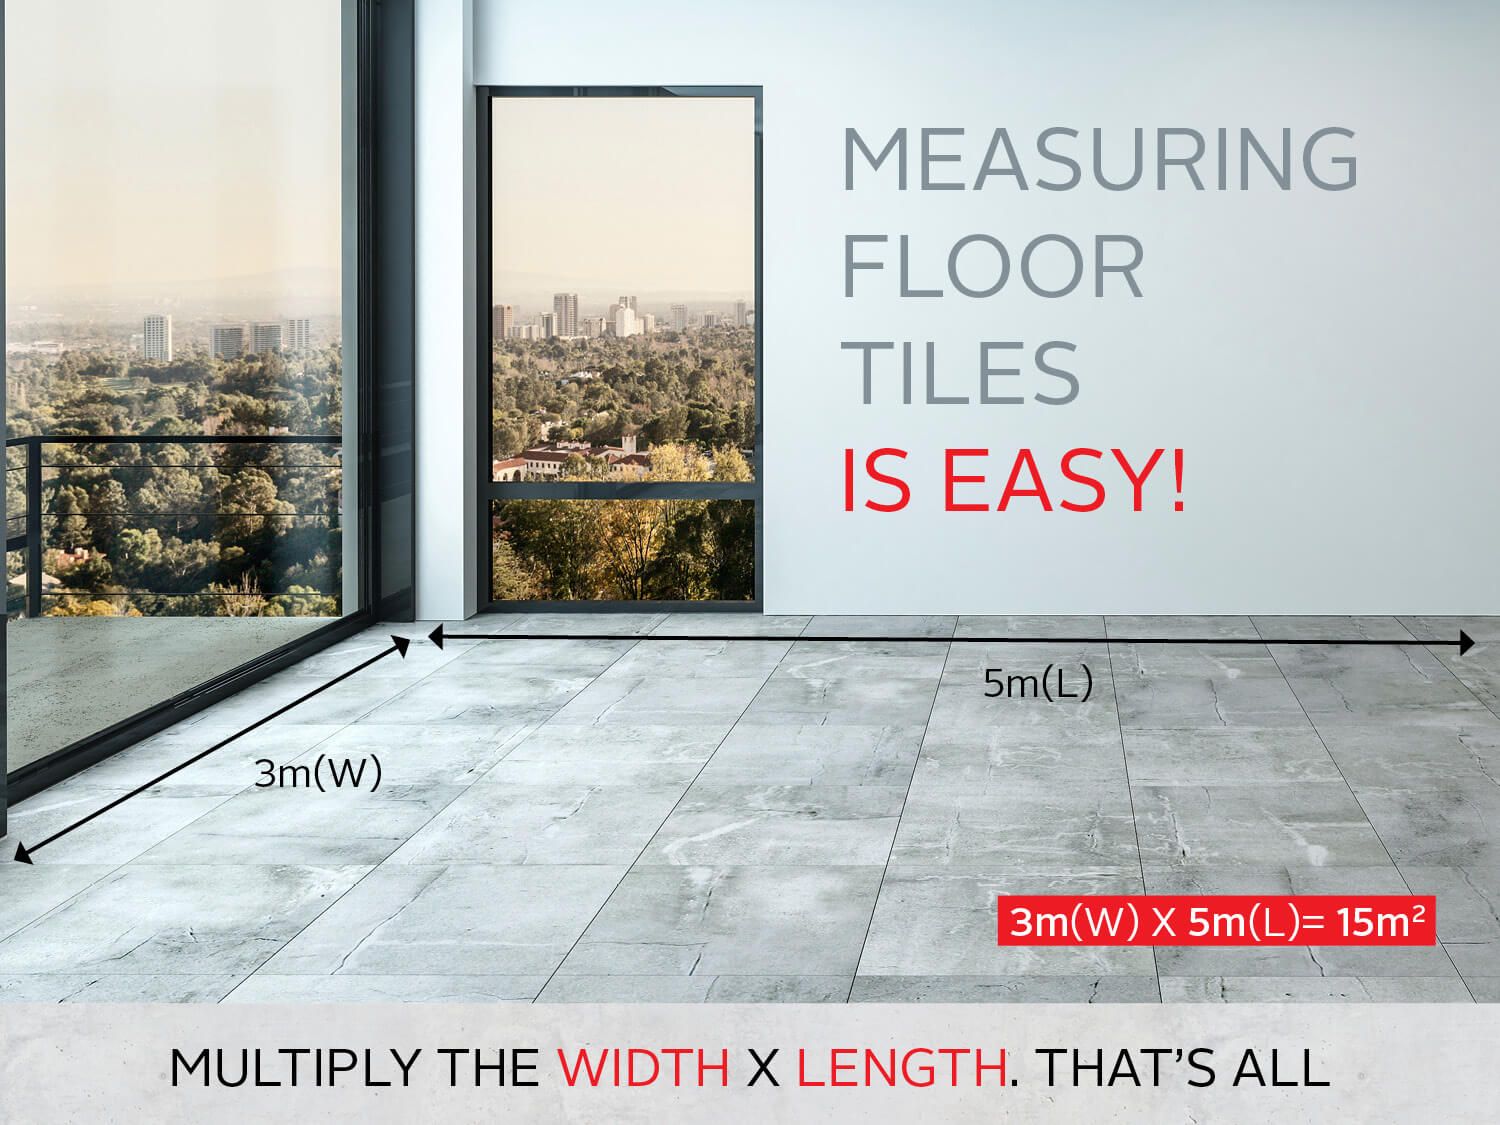
| Square Metres Per box | 1,44 m2 |
| Colour | White |
| Tile Styles | Polished Porcelain |
| Finish / Texture | Glossy / Shiny |
| Tile Size | Large |
| Tile Application | Indoor Floor & Wall |
| Dimensions | 600 mm x 600 mm |
| Quality | A-Grade |
| Suitable Rooms | Bathrooms, Kitchens, All Living Rooms, Outside Areas, Offices |
| Recommended Adhesive | Superbond |
| Recommended Grout Colour | Light Grey |
| Recommended Tile Spacing (mm) | 2 - 3 mm |
| Length (mm) | 600 mm |
| Width (mm) | 600 mm |
| Thickness (mm) | 8 mm |
| PEI Rating | |
| Number of Tile Faces | 8 |
| Brand | Millenium |
| Weight Per Box (Kg) | 30,0 |
| Tile Type | Porcelain |
| Type | Floor Tiles |


Ready when you are!
Buy Online and we will reserve and pack your order to ensure a speedy collection at your local CTM store. We offer free collections at all our CTM stores countrywide.
Normally, orders will be ready for collection on the same day payment is made and confirmed. For all cheque payments, your order will be processed and dispatched once the cheque is deposited and clears. See all our payment options here.
How To Install Tiles
- As with everything you buy, it is important to check that you are 100% happy with the product before you install. Please compare the product to the images you saw online, check the shades and colour of the tile before you start. If you are not on-site, get your tiler to send you an image of a dry layout to approve.
- When you are ready, make sure that surface is dry, clean, flat and firm. Do not tile on old floor coverings like vinyl tiles.
- Check screen, substrate and foundation are set for tiling.
- Make sure there are expansion joints in the screed.

- Tiles are a fashion item and as new tile designs come in, you may not get the same size and shade of tile as what you originally bought.
- Always buy 15% more meter squared of tiles than the size of the area you will be covering, as there will be offcuts when installing.
- Always keep a spare box or two of tiles, for future renovations and incidentals.

- Make sure you have read any brand-specific instructions, listed on your tile box before starting to tile.
- For Kilimanjaro tiles, for example, make sure you are following the extrusion lines on the back of the tile when laying your tiles
- Start tiling in the middle of the area.
- Make sure you’re using the correct adhesive for the application.
- Check screen, substrate and foundation are set for tiling.
- Apply adhesive evenly using a notched trowel. (Apply 1m2 at a time)
- Only mix enough adhesive to use within 1 hour.
- Work over small areas so the adhesive does not dry.
- Scrape away excess adhesive, separating each tile from the next.
- All tiles must be fully embedded using a rubber mallet.

- Start off by creating building lines in your work space. This will allow you to achieve straight lines.
- Do not butt join tiles. Please use recommended spacing on box or in the product details.
- For Kilimanjaro tiles please use a minimum tile spacing of 8mm and above.
- When tiling large areas. Create expansion joints to allow for structural movement.
- This is done by using a flexible compound (such as silicone) between tiles.
- Expansion joints should be made every 9m2.
- The perimeter joint needs to be 5-8mm.

- Make sure all the joints are clean.
- Apply the grout using a rubber squeegee.
- Grouting should be done 24 hours after the installation of the tiles to allow, the tile to set properly.
- Once the grout has set the entire area must be cleaned, with a damp cloth, Grout Off and Easy Clean, Cleaning agents are recommended.
- Avoid walking on the tiles for 2-3 days to prevent loosening of the tiles.
