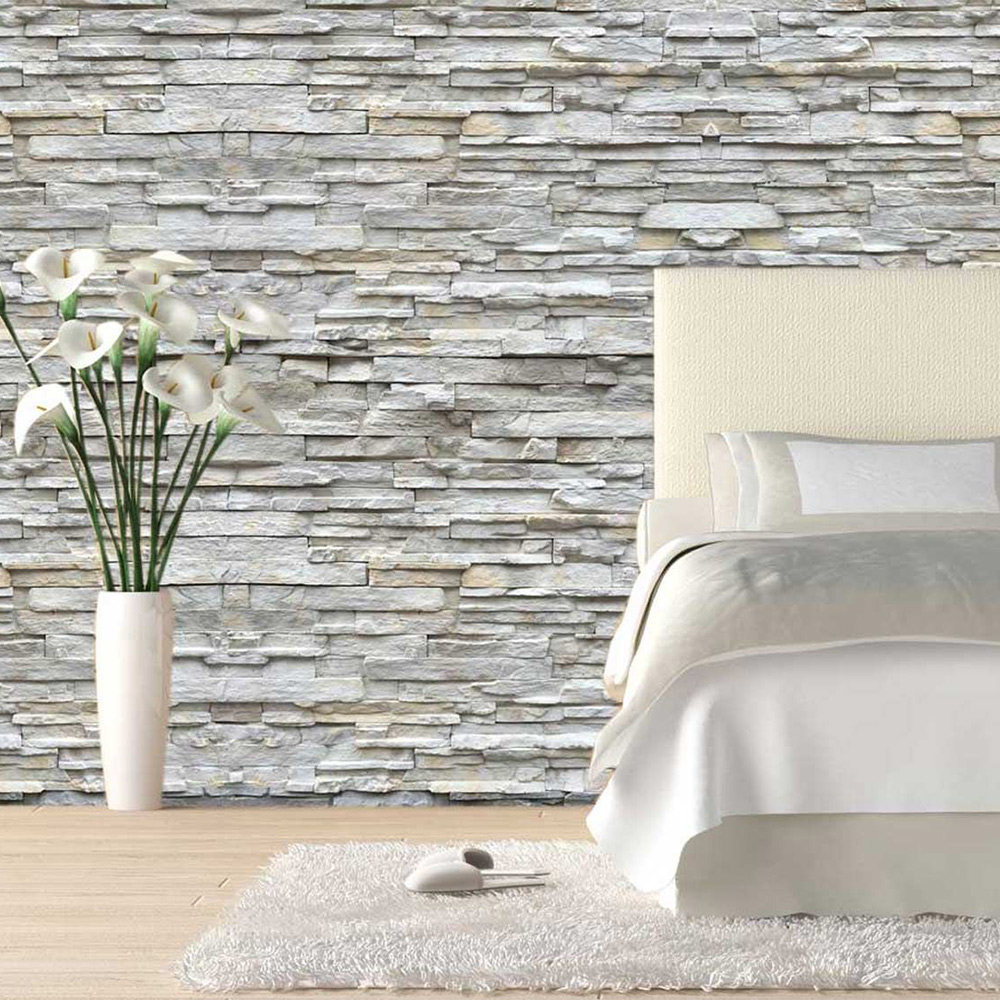
Mount Princeton Light Cement Cladding - 400 x 40 x 35mm

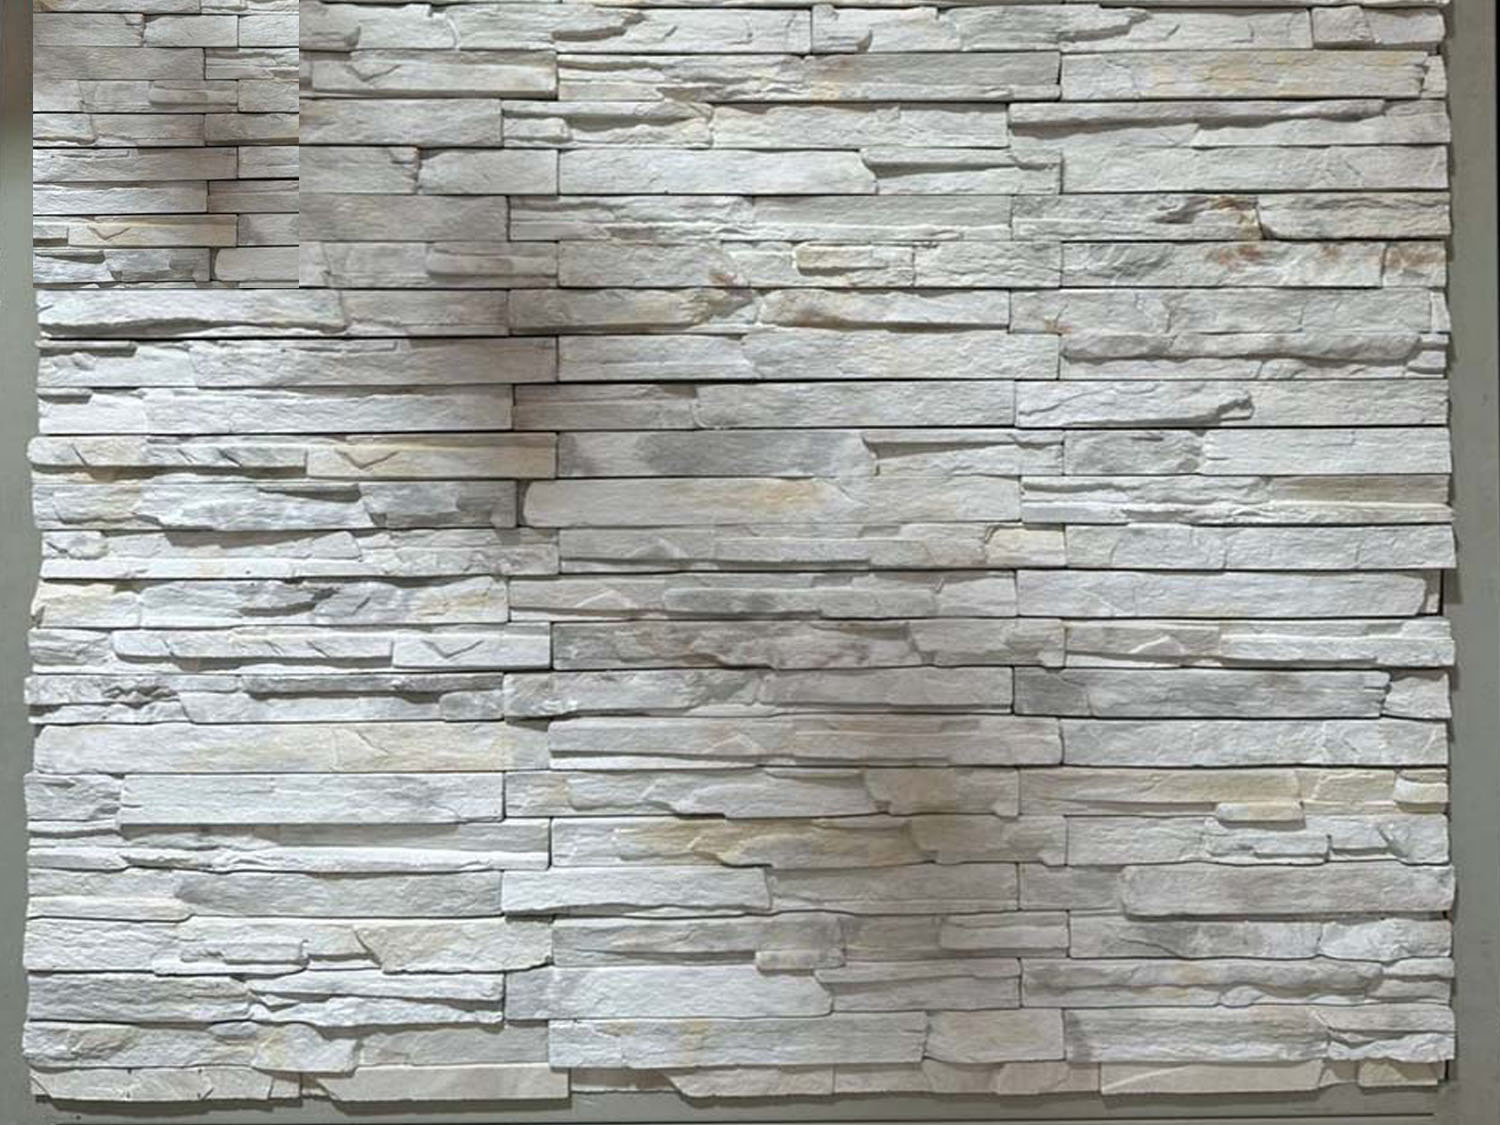
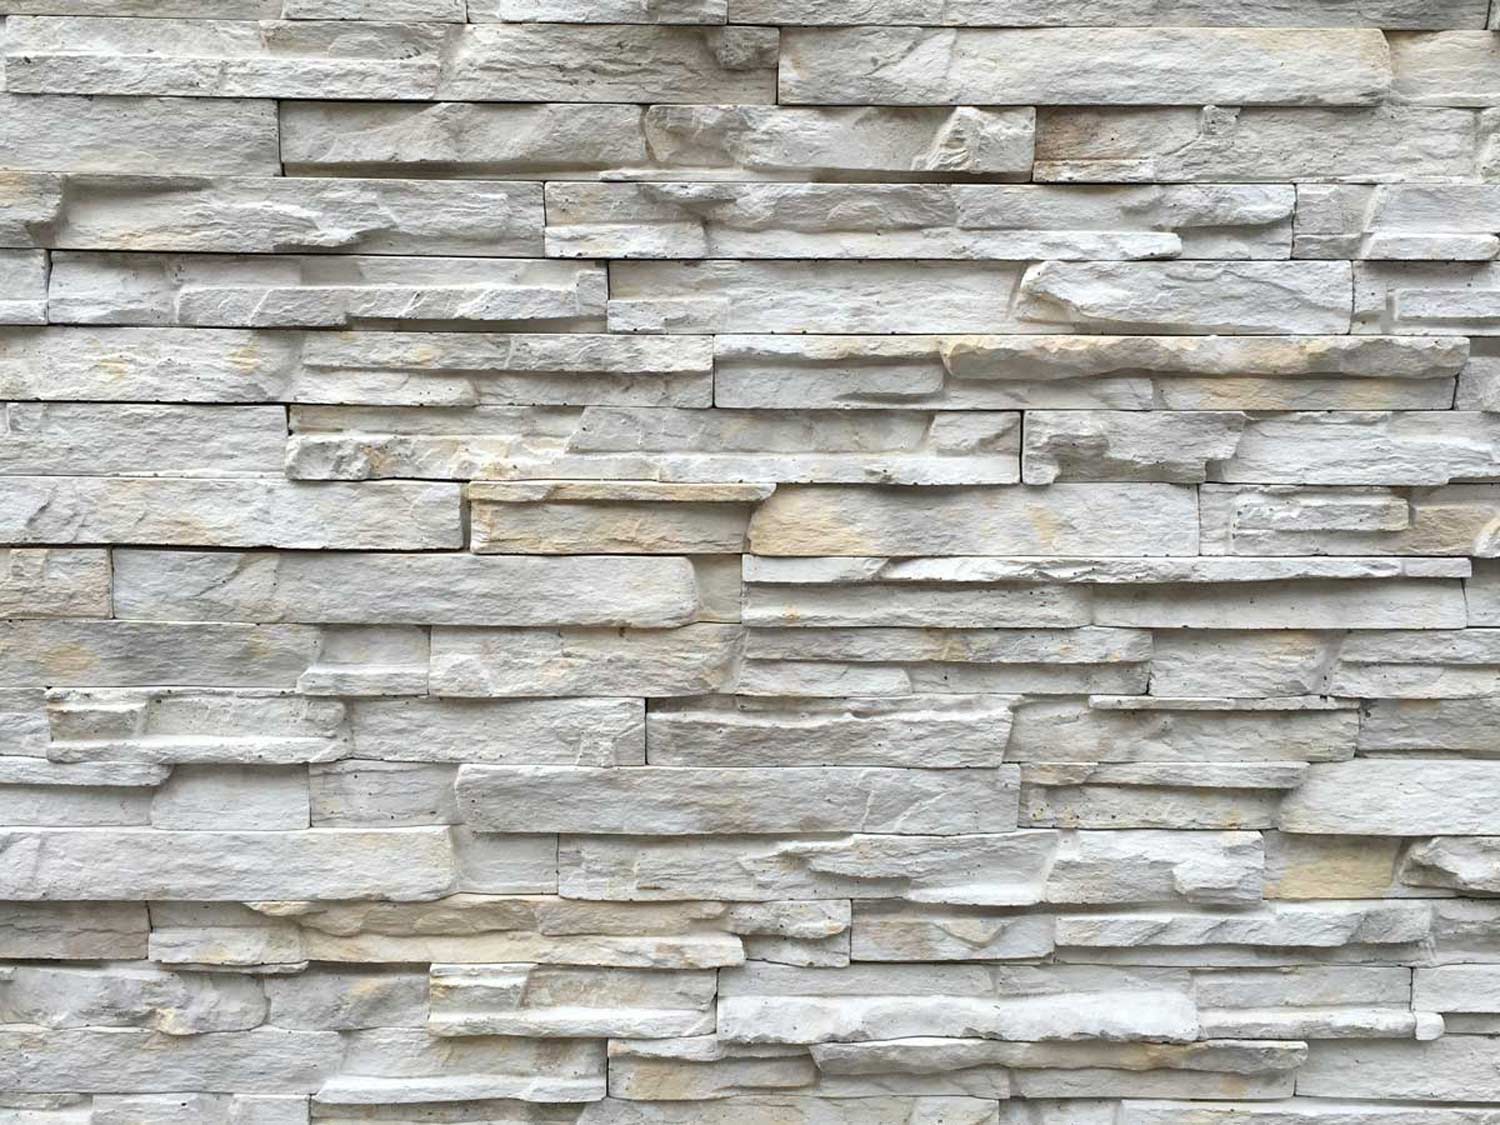
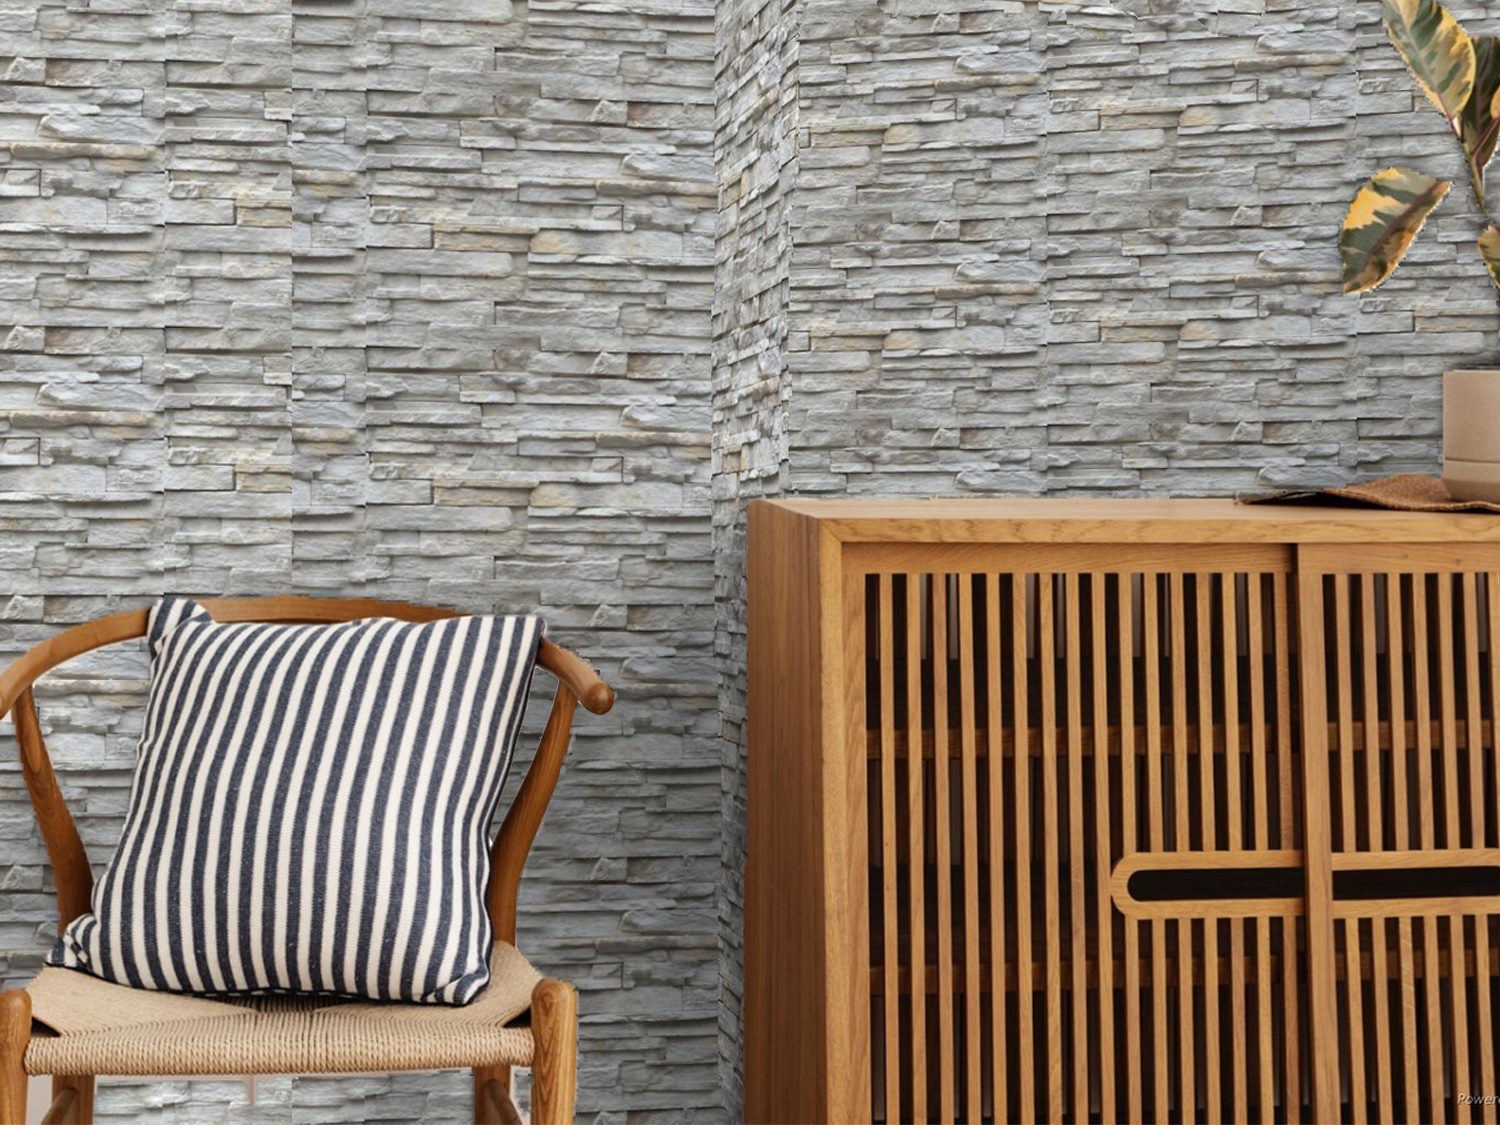

Mount Princeton Light Cement Cladding - 400 x 40 x 35mm


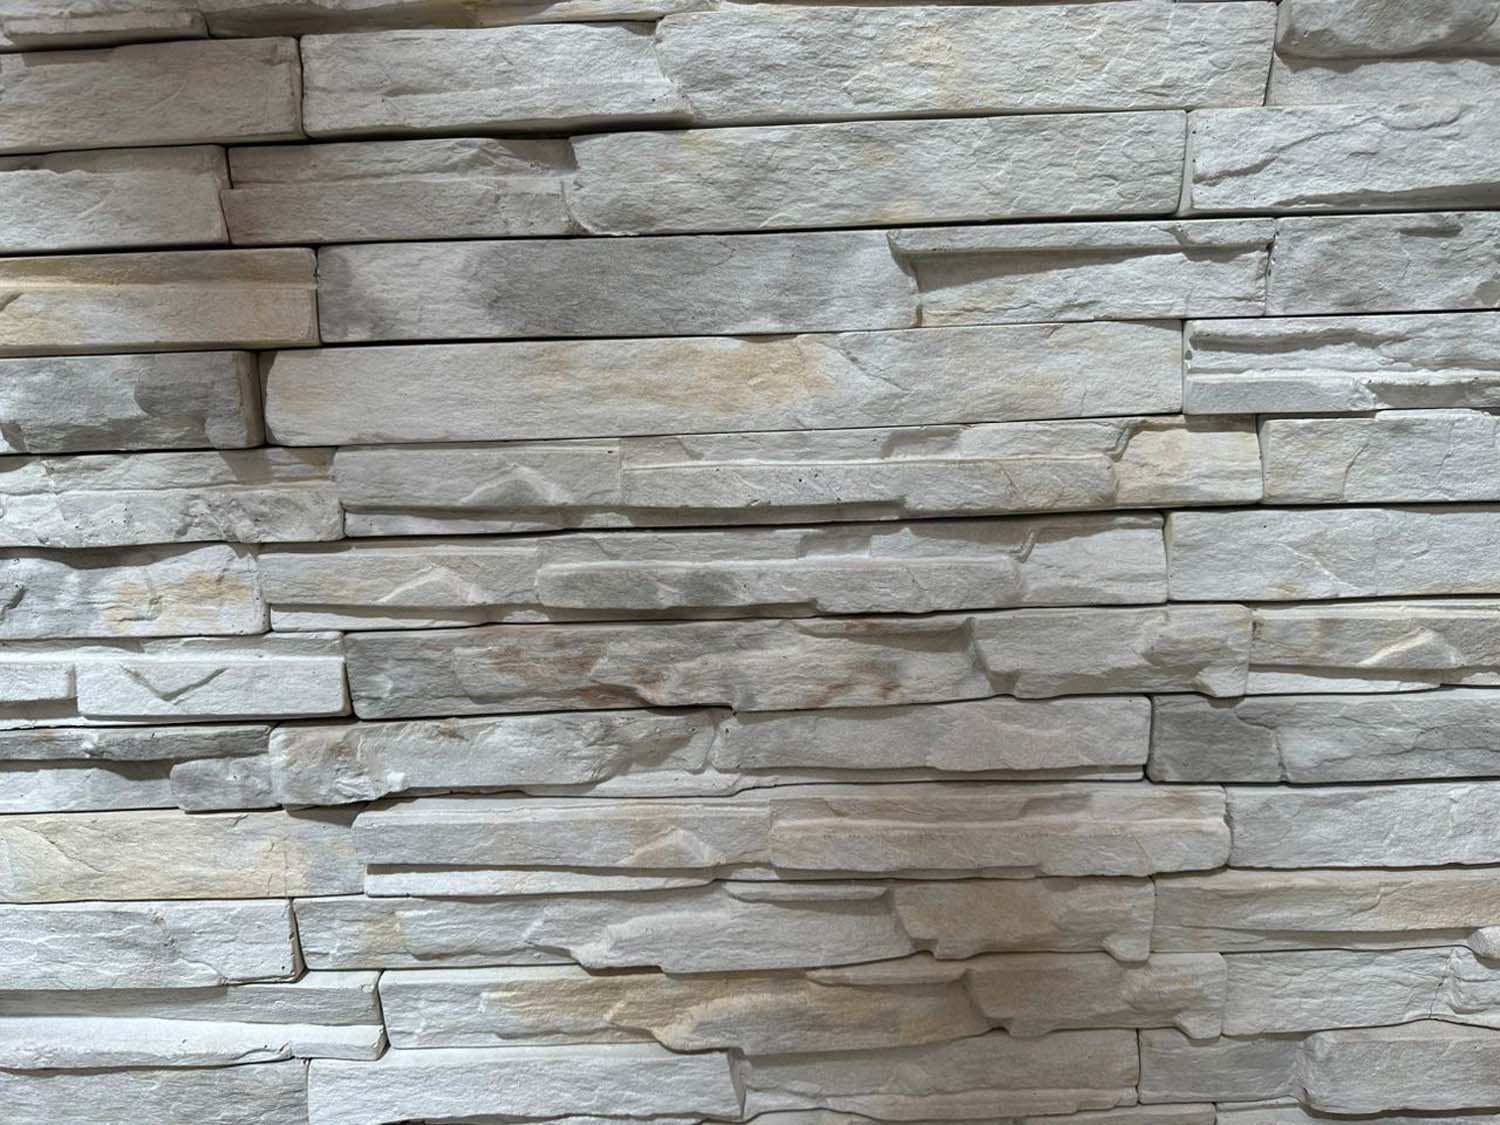
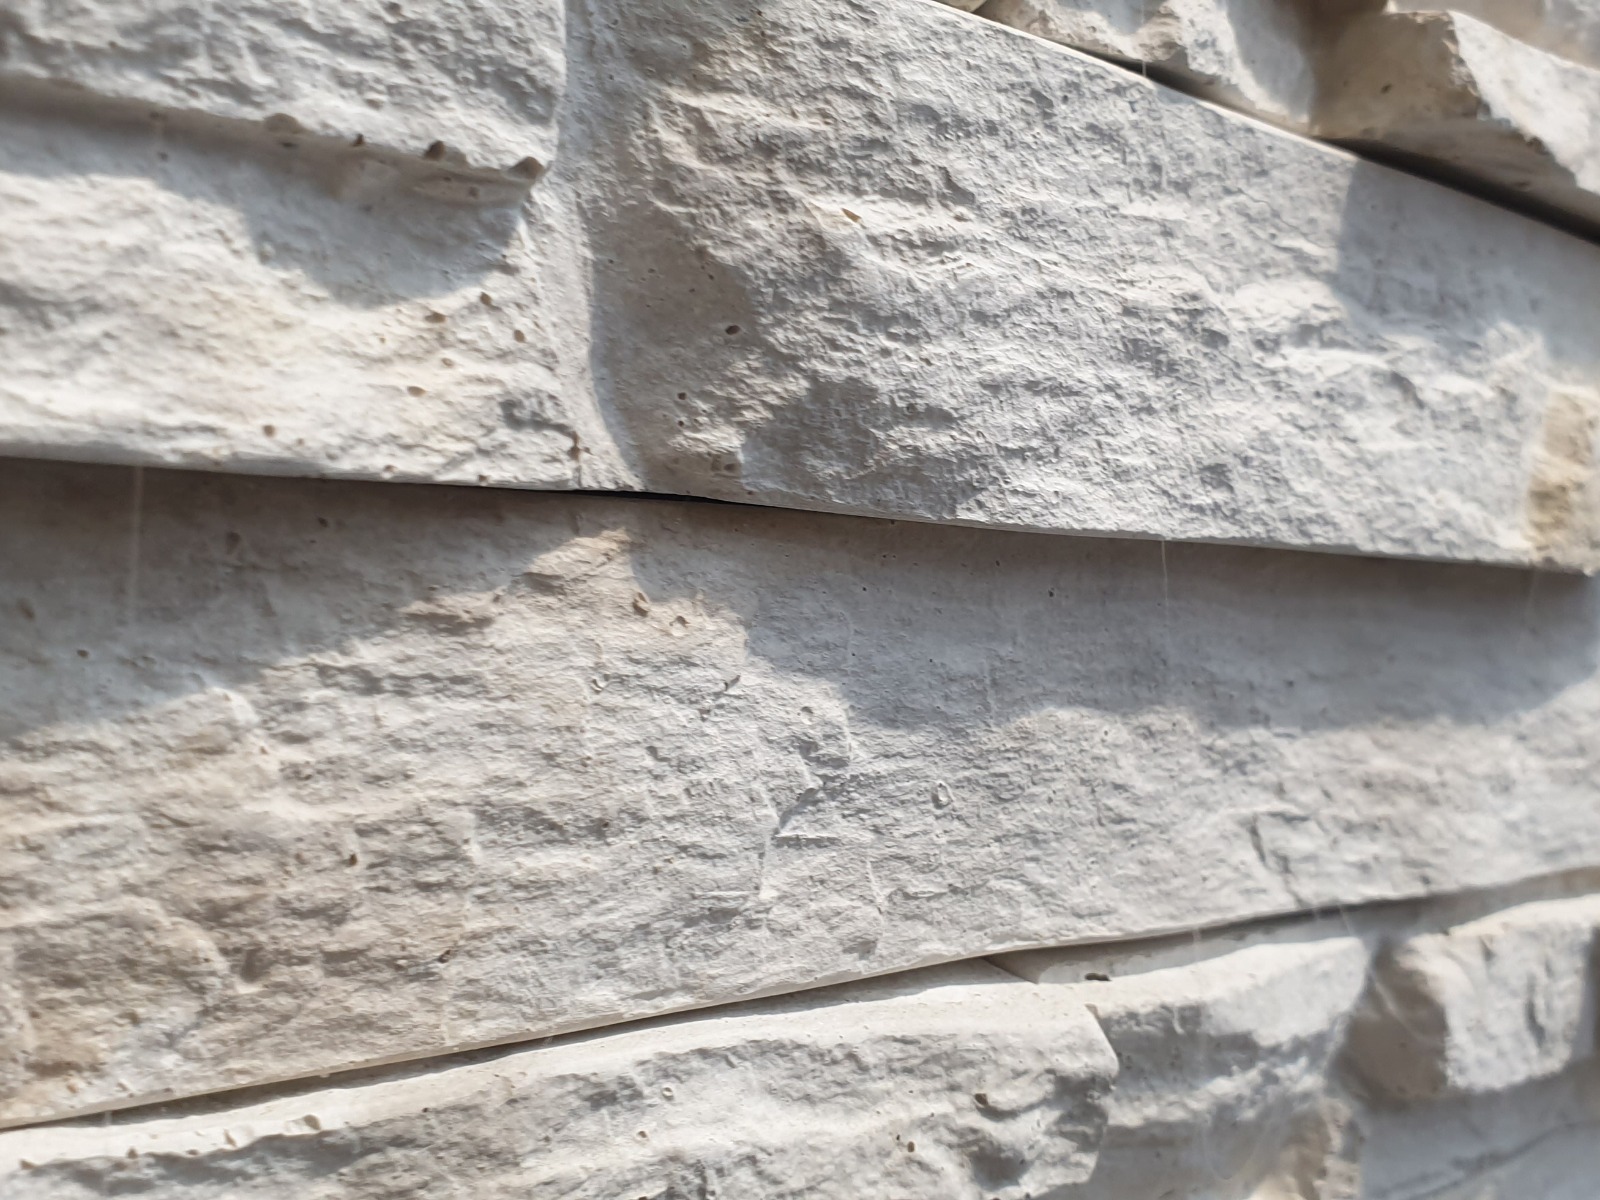
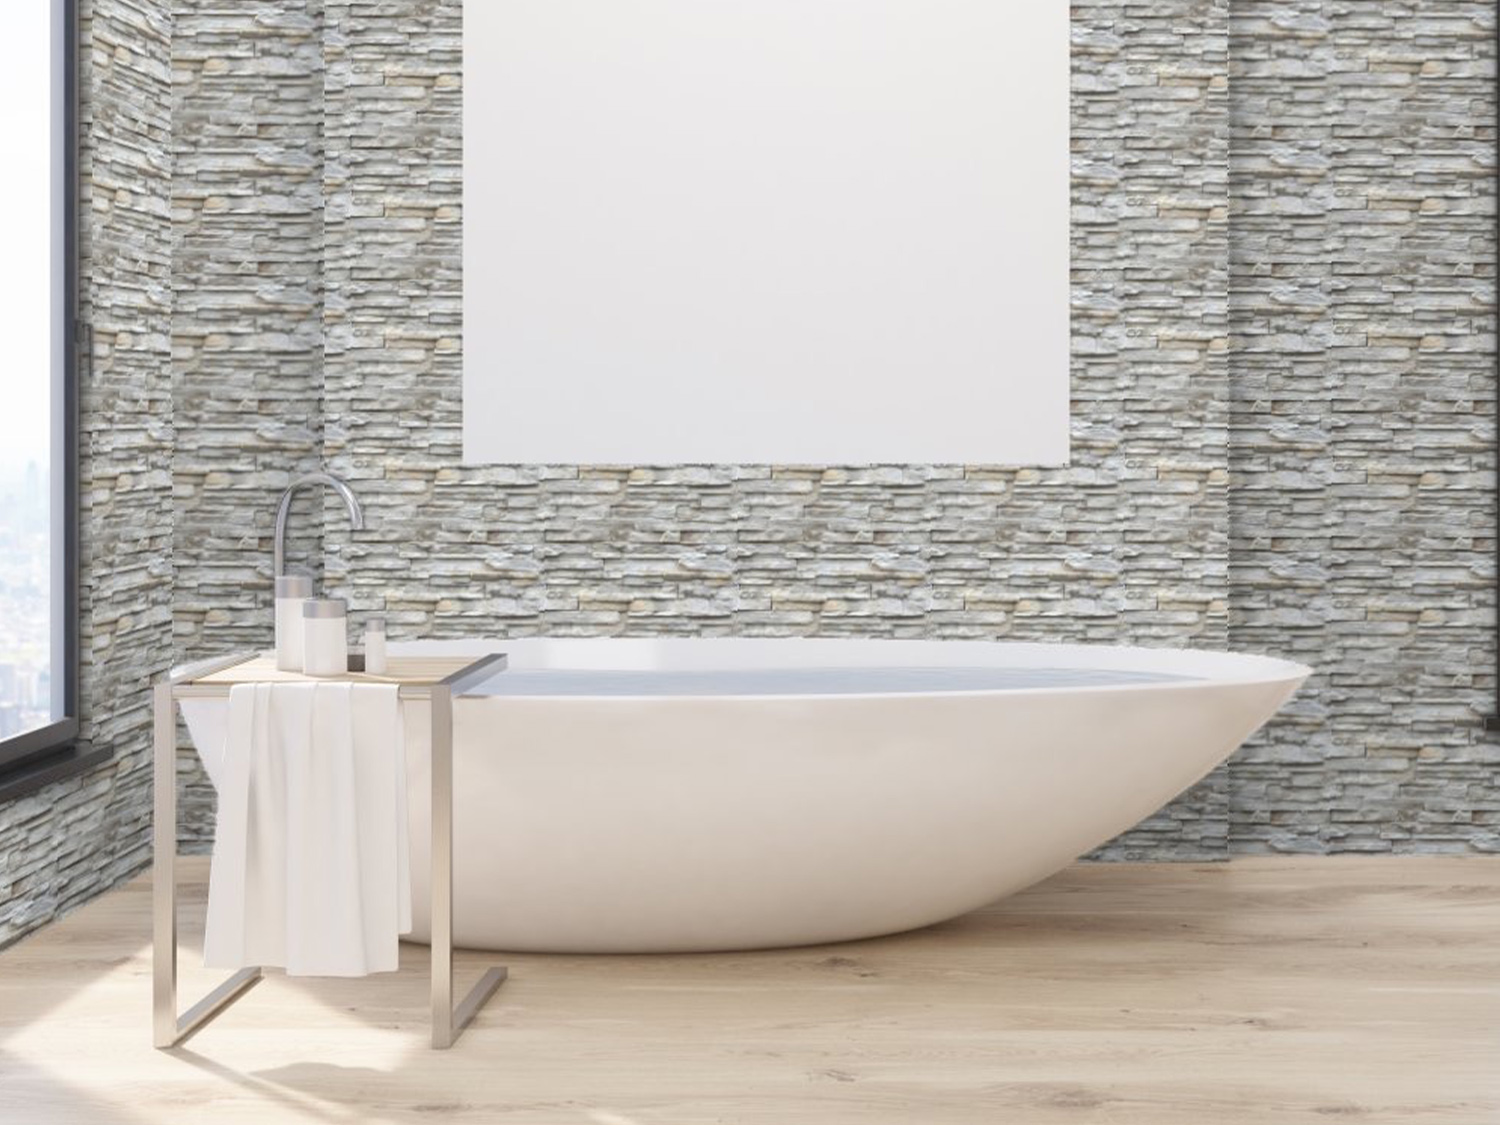
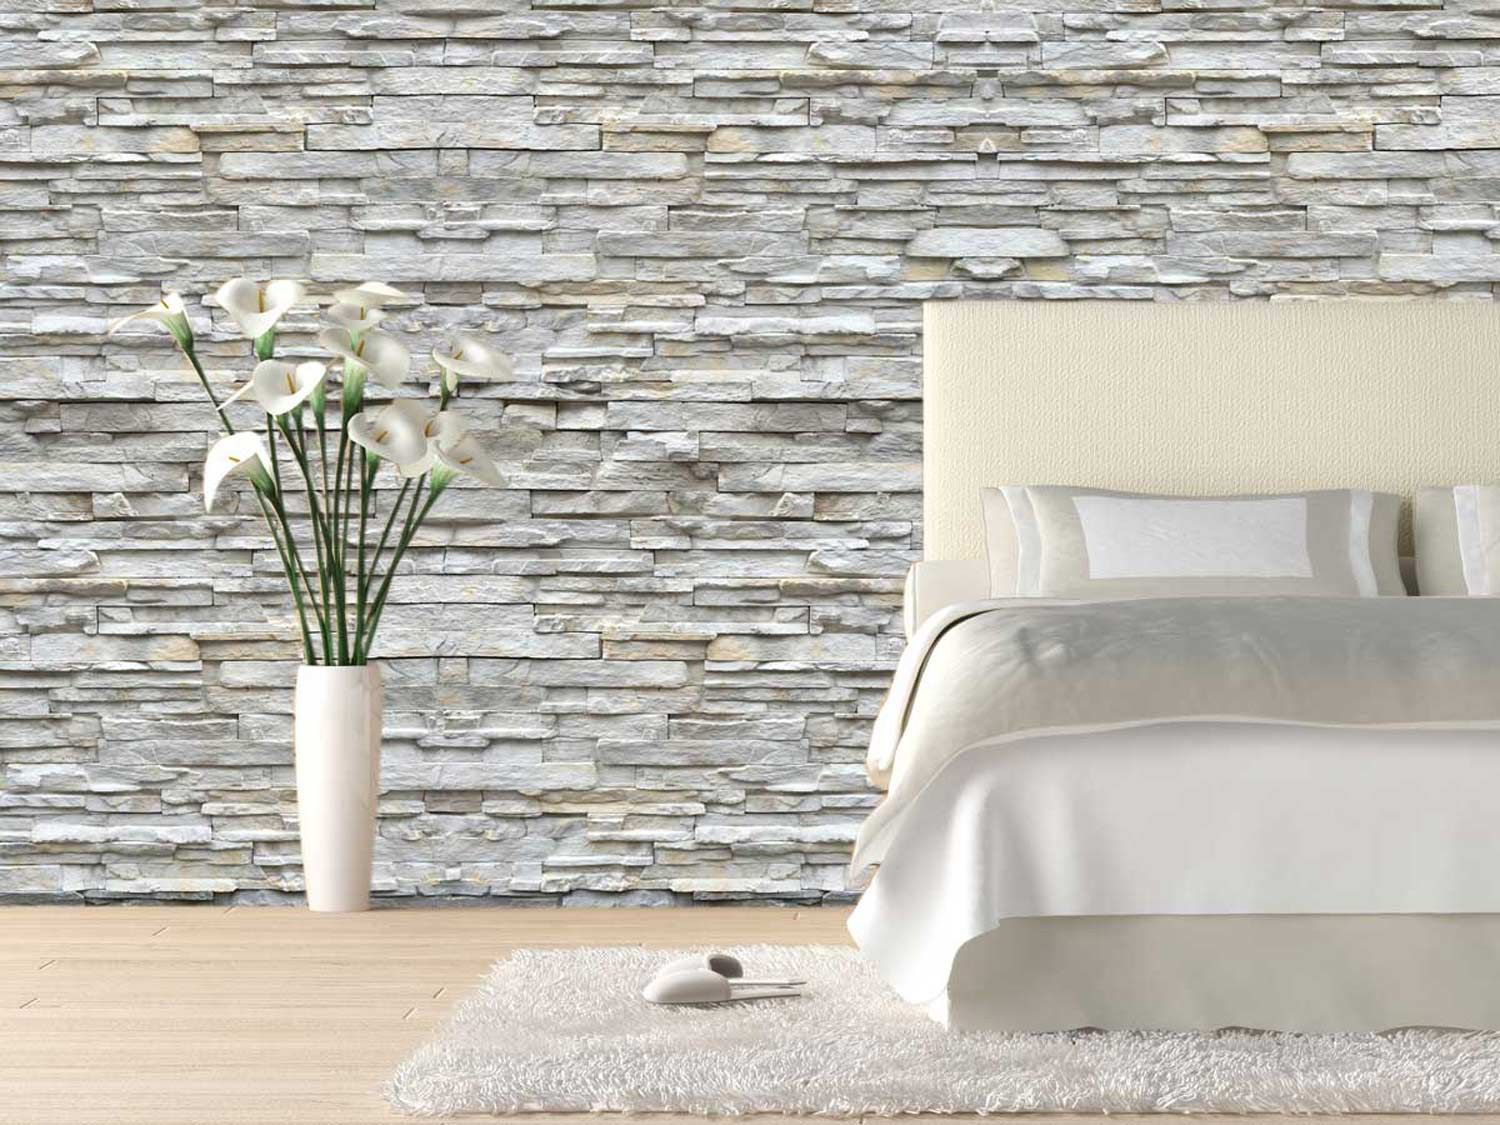
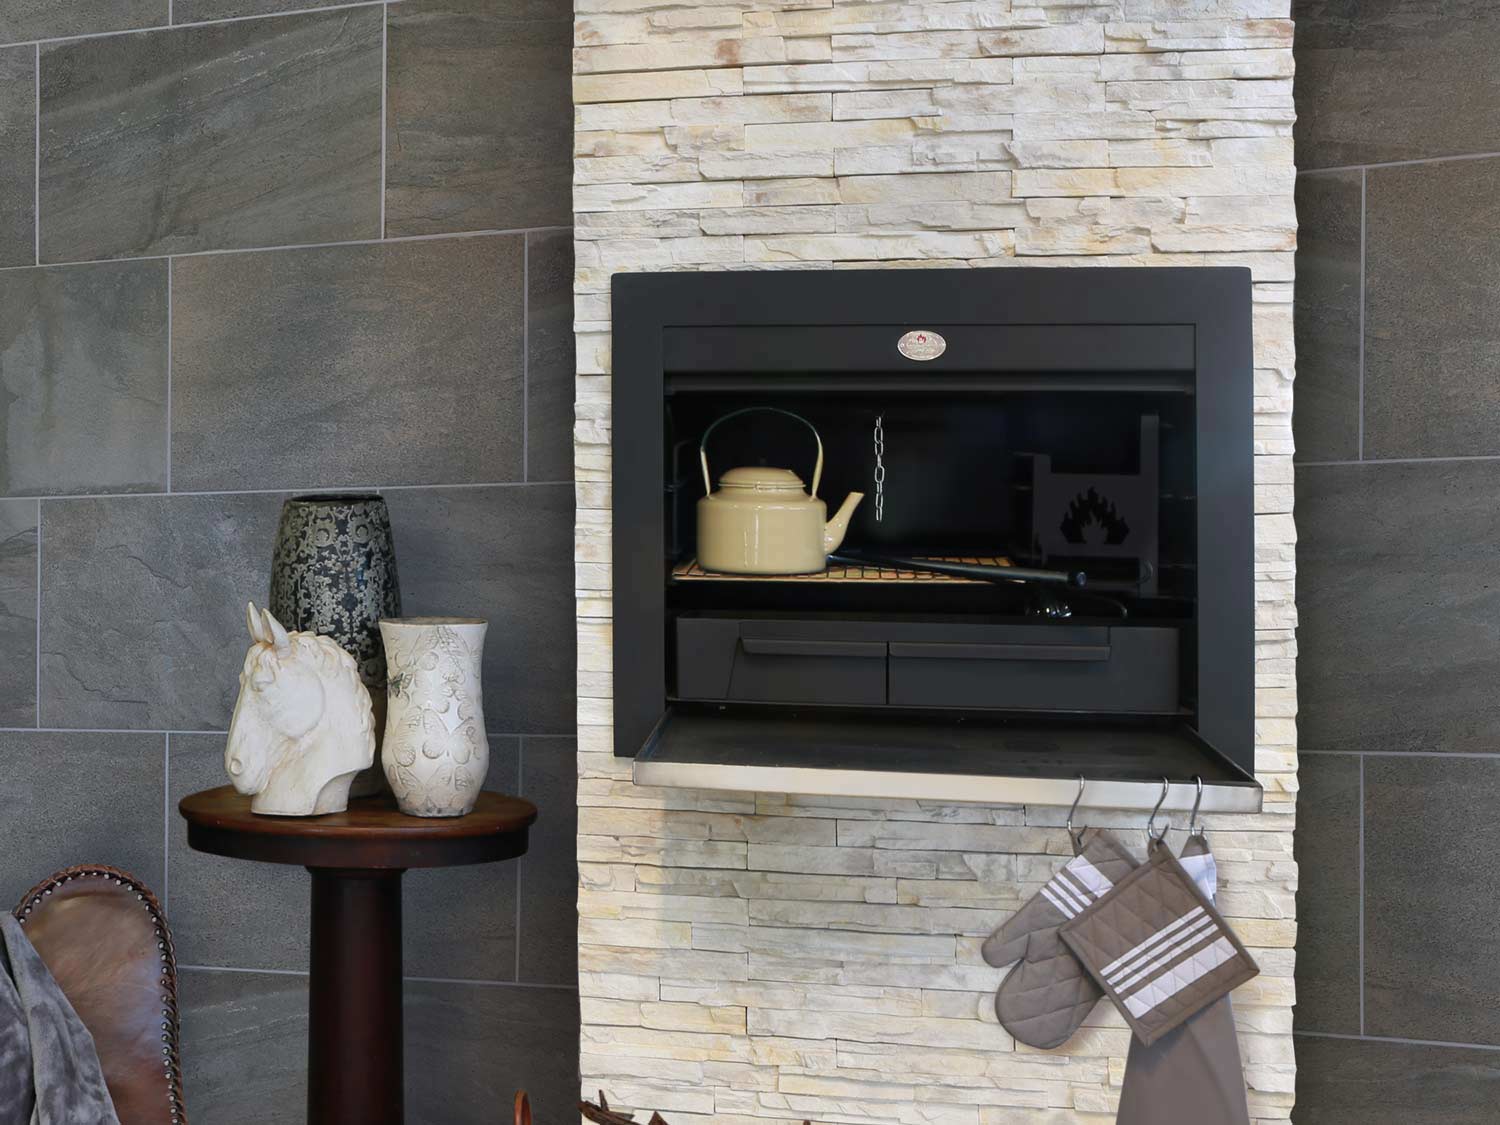
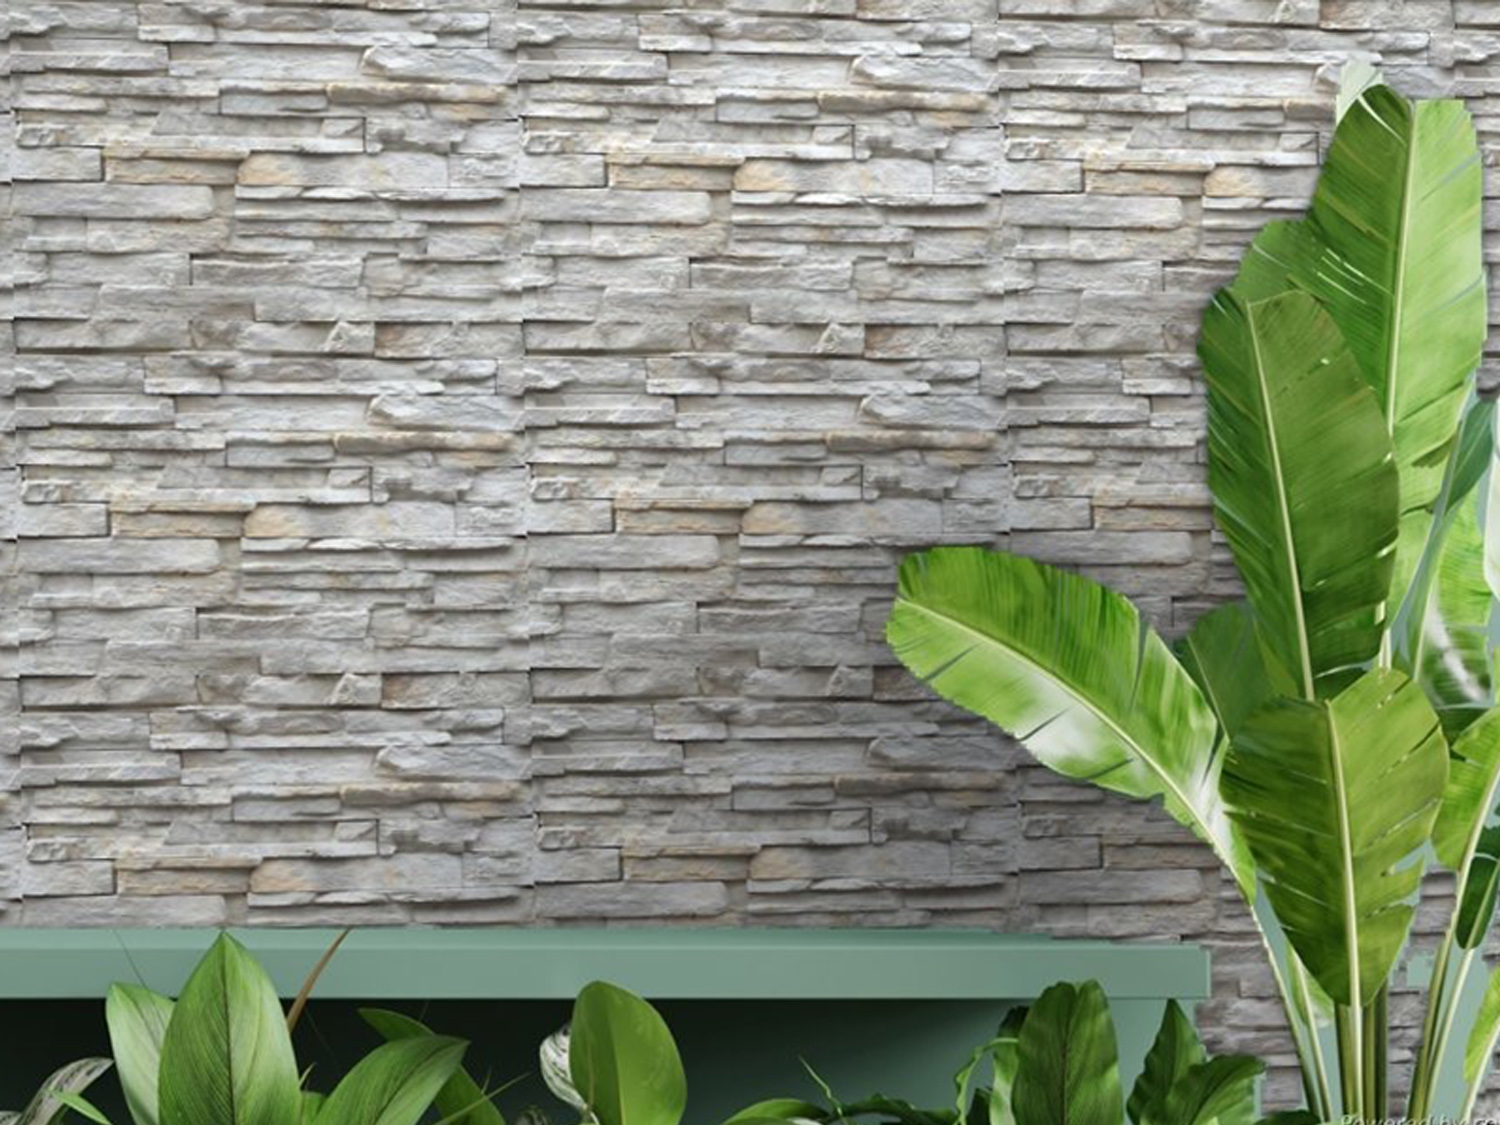
Mount Princeton Light Cement Cladding is the latest trend to have, it creates a beautiful earthy or rustic look to your home.
Cement cladding is lightweight, which makes it not only quicker, easier and more cost-effective
Quick and easy to install with minimal load imposed on the structure to which it is fixed.
Thanks to its exceptional durability and hard-wearing nature, cement cladding requires very little maintenance. This saves the homeowner time and expense on the structure's maintenance over its life span.
Cement cladding is an excellent choice with benefits that extend to both the builder and the homeowner.
Product Specifications
| Box Price (TZS) | 103,200.00 |
|---|---|
| Brand | CTM South Africa |
| Length (mm) | 400 mm |
| Width (mm) | 40 mm |
| Type | Cladding |
| Colour | Grey |
| Dimensions | 400 mm x 40 mm |
| Tile Application | Indoor & Outdoor Wall |
| Tile Type | Cement |
| Finish / Texture | Matt |
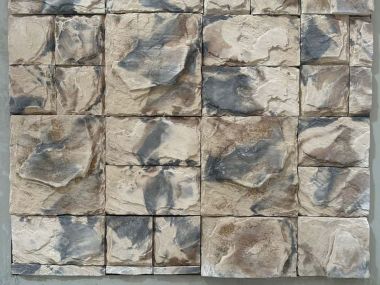
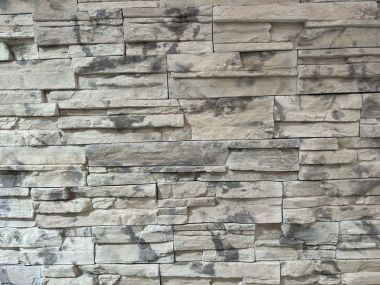
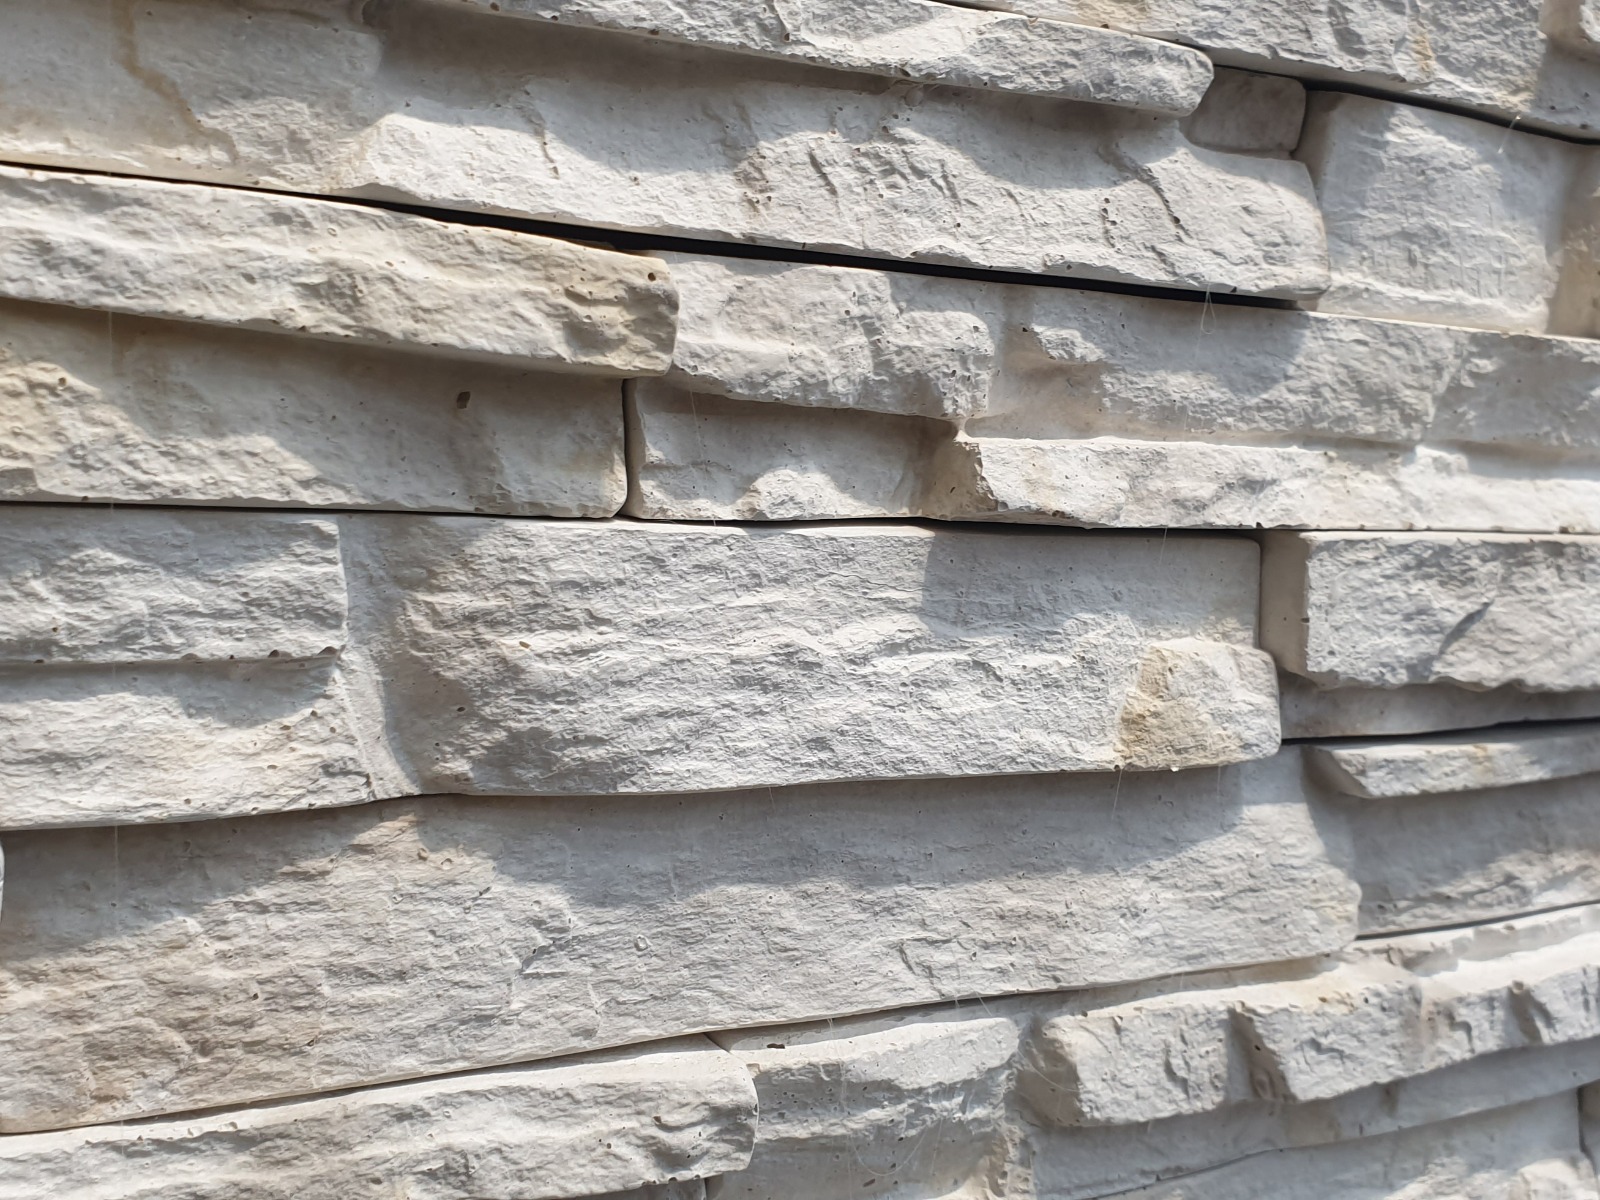
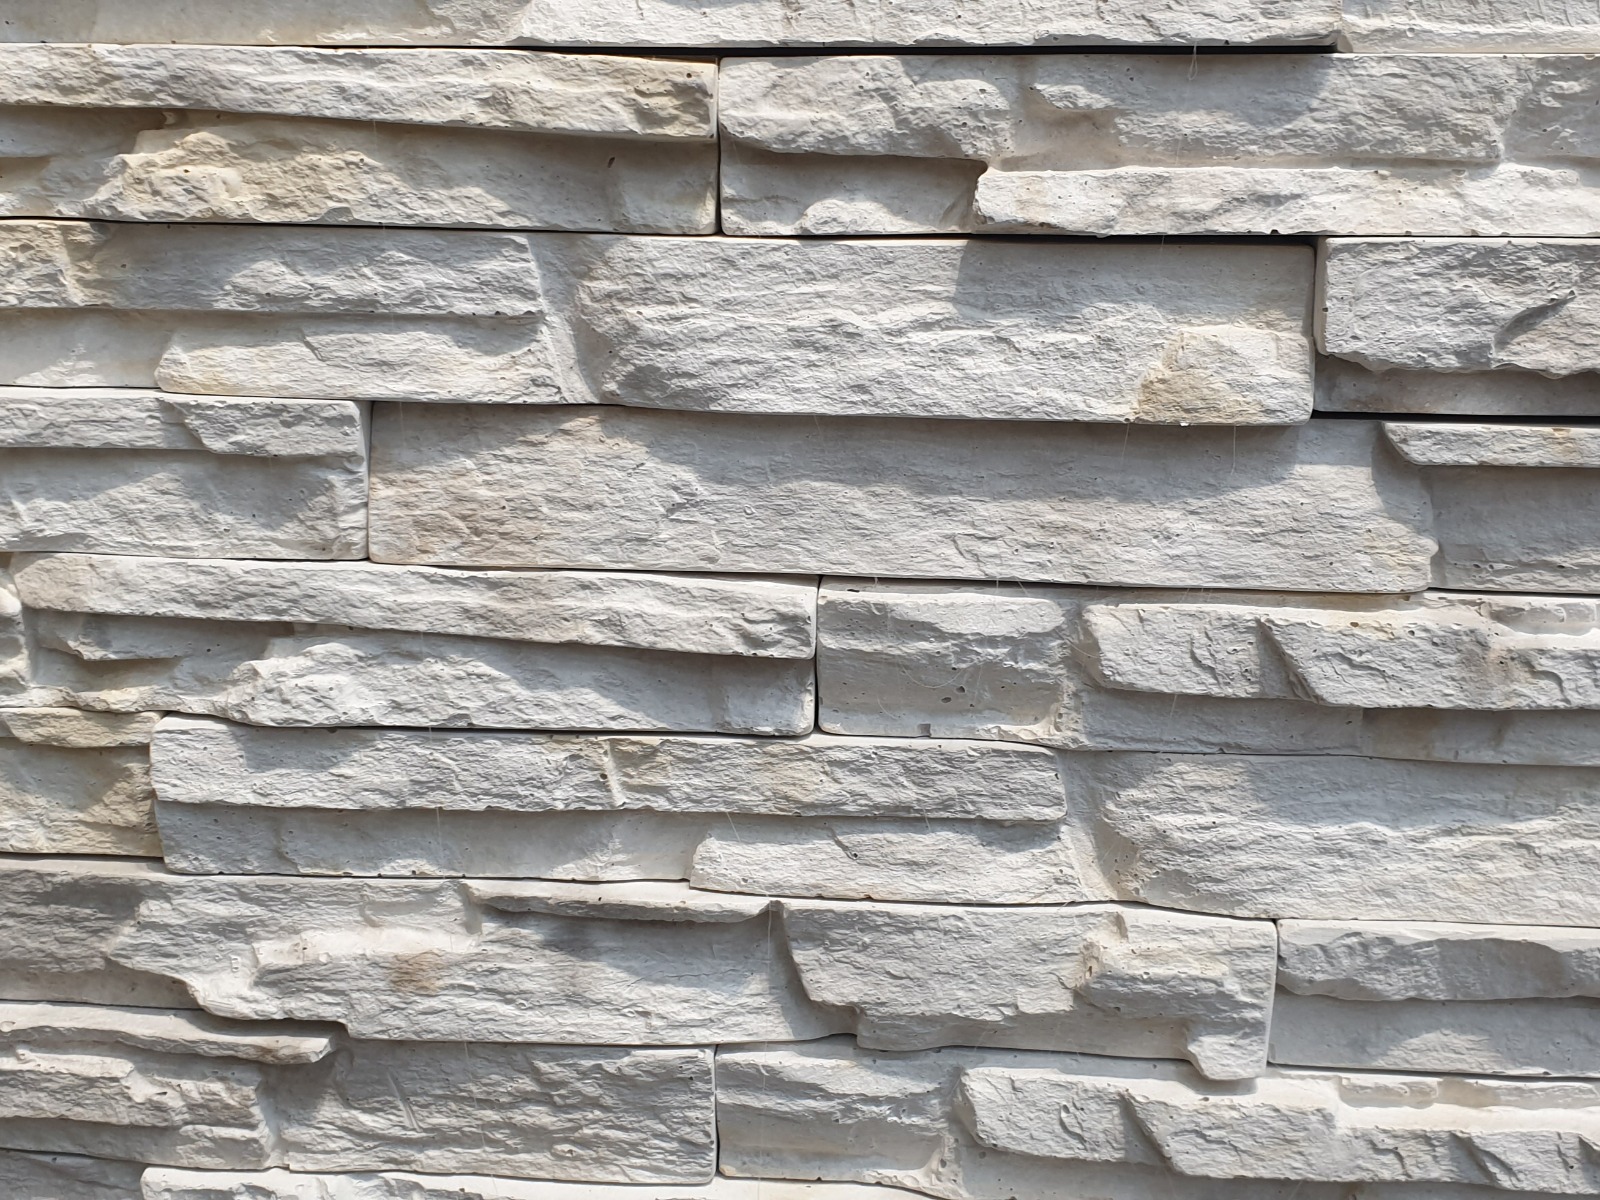
It is important to understand that our Cladding is cement based and moulded from original Stone to simulate the appearance of natural stone, where sizes and thickness vary.
This ensures that product resembles natural stone.
The following guideline is recommended by the manufacturers, as the correct way to lay their cast stone products. It is important that experienced installers or contractors are used; do not use installers who are unfamiliar or inexperienced with cast stone products.
Storage and Handling:
1. Product must be handled carefully to avoid damaging edges and surface of the product – pack upright.
2. The boxes must not be stored too high as Cladding will crack due to excessive weight.
3. Cladding should always be stored undercover on their edge not horizontally (stacked) prior to being laid.
4. All Cladding is manufactured and stored undercover before being boxed and delivered; this explains the darker colour sometimes apparent when opening box. This will get lighter in time depending on the prevailing conditions.
5. Suitable lifting, handling and cutting equipment should be used. The correct safety gear and protective clothing must be worn at all times i.e. gloves, dust masks, safety boots etc.
Surface and Wall preparation:
1. New walls require 4 weeks curing time before cladding can begin.
2. Newly plastered walls require another 2 weeks before cladding can commence.
3. Ensure that all brickwork, concrete and cement plasters are suitable, firm (no friability) and have moisture content of 5% or less before cladding commences. Remove and replace all defective cement plasters before cladding commences.
4. When cladding directly onto concrete, ensure that the surfaces are clean, free of all traces of laitance, curing agents or contaminants. This can be done by scarifying the surface. Do not use solvents as this may lead to contamination of the substrate and cause poor bonding of the tile adhesive or preparation material.
5. Post tensioned rib and block, hollow core or echo slabs require priming before cladding commences.
6. Most walls will need to be primed, chipped, brushed, scabbled or shot blastered to 80% prior to cladding. Alternately the surface must be primed with key it bonding and Cement/ Sand mix or similar. Apply to a thickness of 1,5 - 2mm with a builder’s block brush. Allow 24 hours to dry before cladding commences.
7. All painted surfaces must be chipped 80% and then primed – as above mentioned.
Product Preparation
1. The backside of the Product must be brushed with a steel brush to remove any laitance or film on the surface. This will ensure a good surface for adhesive to bond with.
2. Cladding must be clean, free of dust and contaminants. This can be easily done using a sponge and clean water. It is very important to make sure the product is dust free and advisable to prepare with a keycoat to ensure good adhesion between product and adhesive.
3. Recommended Quickset from CTM: PROGRIP CLADDING TILE ADHESIVE
Movement Joints
1. Should there be any building structural/expansion joints in the structure of the walls, these joints width must be maintained and carried through the adhesive bed and the cladding, and filled with a suitable flexible filler or expansion joint profile.
2. Cladding movement joints must also be allowed for in vertical corners. Surface obstructions, pipes, fixed fittings, over all building material variances (brick and concrete beams). Provide horizontal joints at each storey rise in the height of external walls.
Step by Step Procedure to follow for Adhesive application:
1. Ensure that the wall surface is not friable and that all laitance, paint, dust is removed. Lightly wet the back of the cladding with a sponge to remove any excess dust from wire brushing.
2. Do not use cheap adhesive – 6-hour quickset recommended (PROGRIP CLADDING TILE ADHESIVE)
3. It is advisable to apply a key it bonding to the wall surface by mixing with cement and creating a slurry which is then brushed onto the wall.
4. Use Adhesive with clean cold water to recommended consistency.
5. Apply to a minimum bed thickness of 5mm.
6. Spread only enough adhesive for each individual piece. Should a thin film (skin) appear on the surface of the adhesive, re agitate with trowel before bedding cladding.
7. Using a trowel – apply and spread over the back of the cladding. Buttering of cladding is recommended where the back of the cladding product surface is rough and dusty.
8. Press the cladding firmly into wet adhesive with a twisting action. Product can be bedded with the aid of a Rubber mallet.
9. Most designs look best in a random or staggered pattern and dry packed – no joints.
10. Follow the image at the top of this document as a guideline.
11. Lift and replace random cladding to ensure that 100% contact is being achieved between the cladding and adhesive (NO VOIDS BEHIND CLADDING).
12. Remove excess adhesive from joints and cladding product before drying has occurred. Please take extra care when you butt joint the cladding.
13. Ensure that you clean whilst installing to prevent any adhesive staining the product.
14. When grouting you leave on the surface and wash with clean water – the more you wash the surface the less whiteness will remain on the surface of the brick.
15. To cut the product it is necessary to use a Diamond Blade with an angle grinder.
Maintenance and Sealing
1. As cladding is manufactured to resemble real stone no sealing or maintenance is necessary.
2. A Nano Sealer should be considered if used in or around pools, ponds, fire places and water features.

Ready when you are!
Buy Online and we will reserve and pack your order to ensure a speedy collection at your local CTM store. We offer free collections at all our CTM stores countrywide.
Normally, orders will be ready for collection on the same day payment is made and confirmed. For all cheque payments, your order will be processed and dispatched once the cheque is deposited and clears. See all our payment options here.